Get started with Storybook and Next.js
Integrate Storybook with Next.js in four simple steps

2023 UPDATE: Storybook created a zero-config integration with NextJS. Learn how to use it here.
Next.js is a fantastic framework for building high-performance applications in React. But as it becomes more advanced — with features like next/image — it becomes more difficult to integrate with documentation and testing environments like Storybook.
I dove in deep to learn how to make Storybook the best component-driven UI environment for Next.js pages. This article shows you how to do the same in four straightforward steps:
- 📦 Initialize a new Storybook with Webpack 5
- 📑 Create stories for Next.js pages
- 🌎 Import shared, global styles in preview.js
- ⬇️ De-optimize Next Image for use in Stories
If you prefer video, jump to the end. We cover all these steps (and more) in a 27 minute code-along YouTube video!
Start with a Next.js App
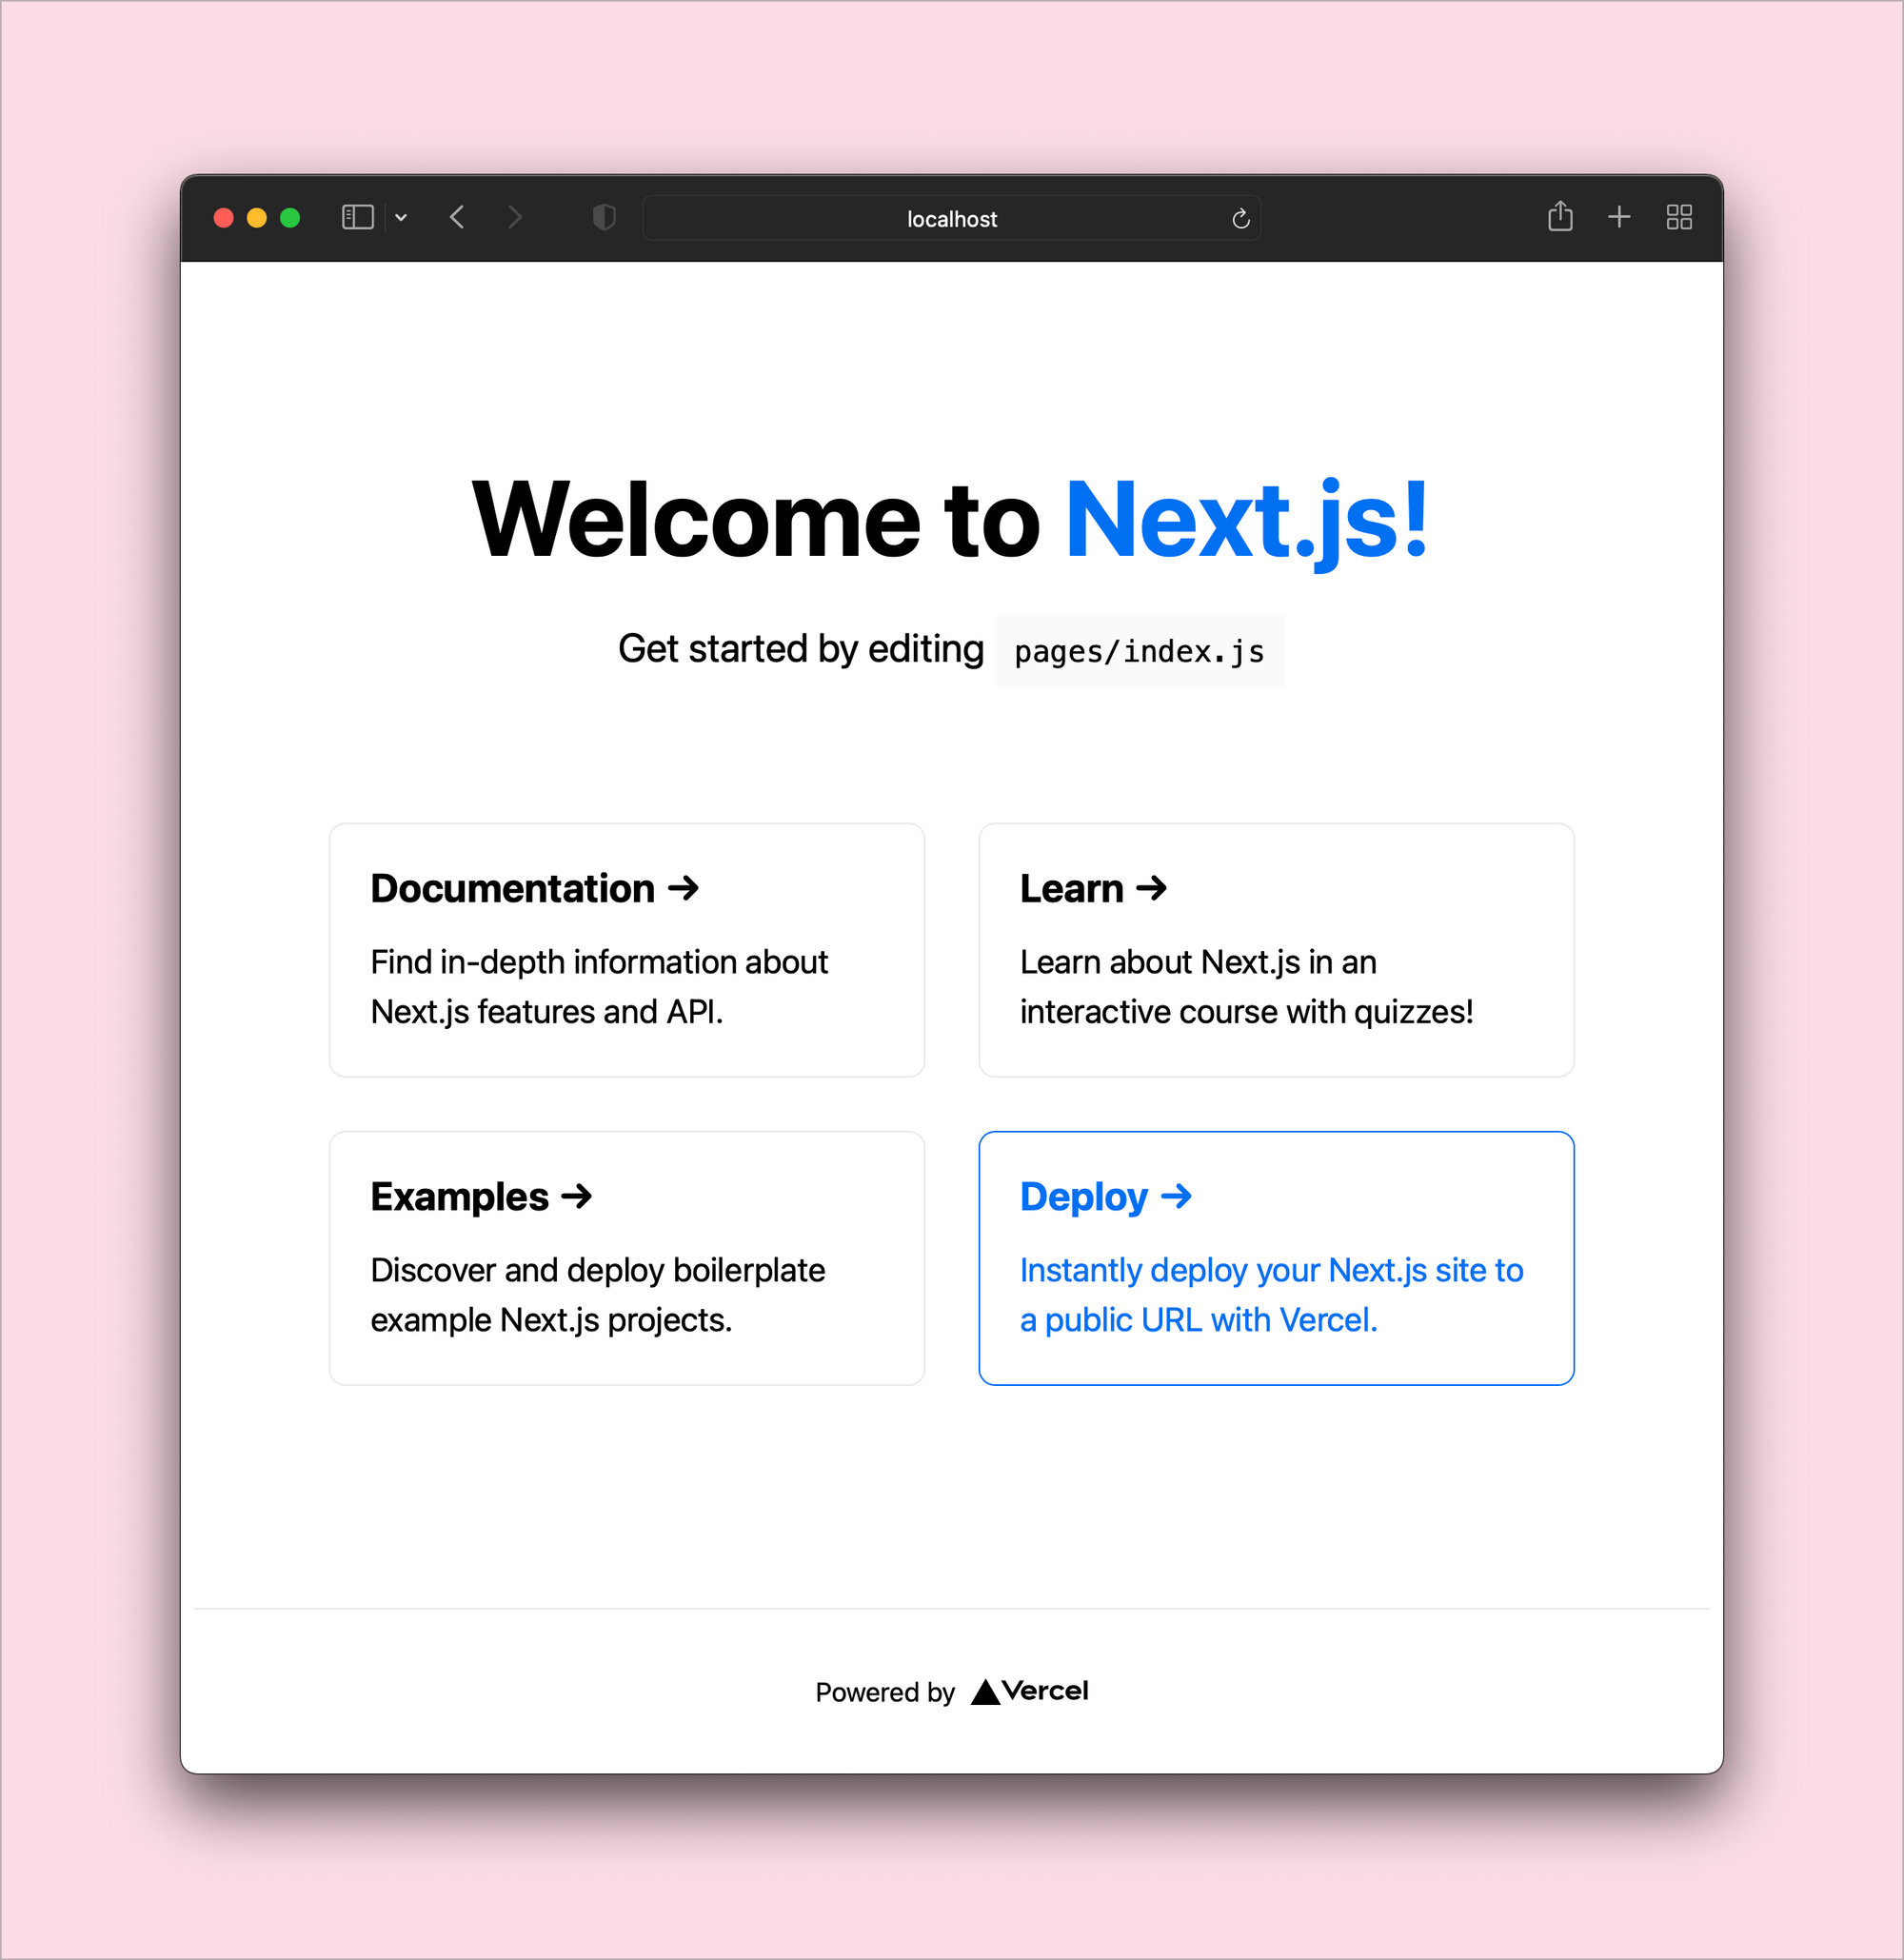
Before we start, we need a Next.js app. This tutorial uses the fantastic Getting Started guide on nextjs.org.

I recommend following along in a new app and then repeating the steps in an existing one. Here is the complete source on Github, updated for Next.js 12.
Initialize a new Storybook with Webpack 5
Storybook has an initializer that does the heavy lifting for us: npx sb init. This script detects your project type and adapts to it. But we can also give it a few hints.
Next.js v11 and later use Webpack 5. We can also use Webpack 5 in Storybook to get improved integration and performance. To do that we use the builder option and run this command:
npx sb init --builder webpack5Read more about the benefits of Storybook's Webpack 5 builder.
Create stories for full Next.js pages
Next.js and Storybook have extremely compatible component models. Next.js uses components for pages and Storybook uses components for documentation and testing. This makes Storybook a great component-driven development environment for Next.js!
Let's create a story for our Next.js home page.
- Create a new file
/stories/pages/home.stories.jsx - Import
/pages/index.js - Export a default story object, with
titleandcomponentproperties - Export a story for
Home
// /stories/pages/home.stories.jsx

import Home from "../../pages/index";

export default {
  title: "Pages/Home",
  component: Home,
};

export const HomePage = () => <Home />
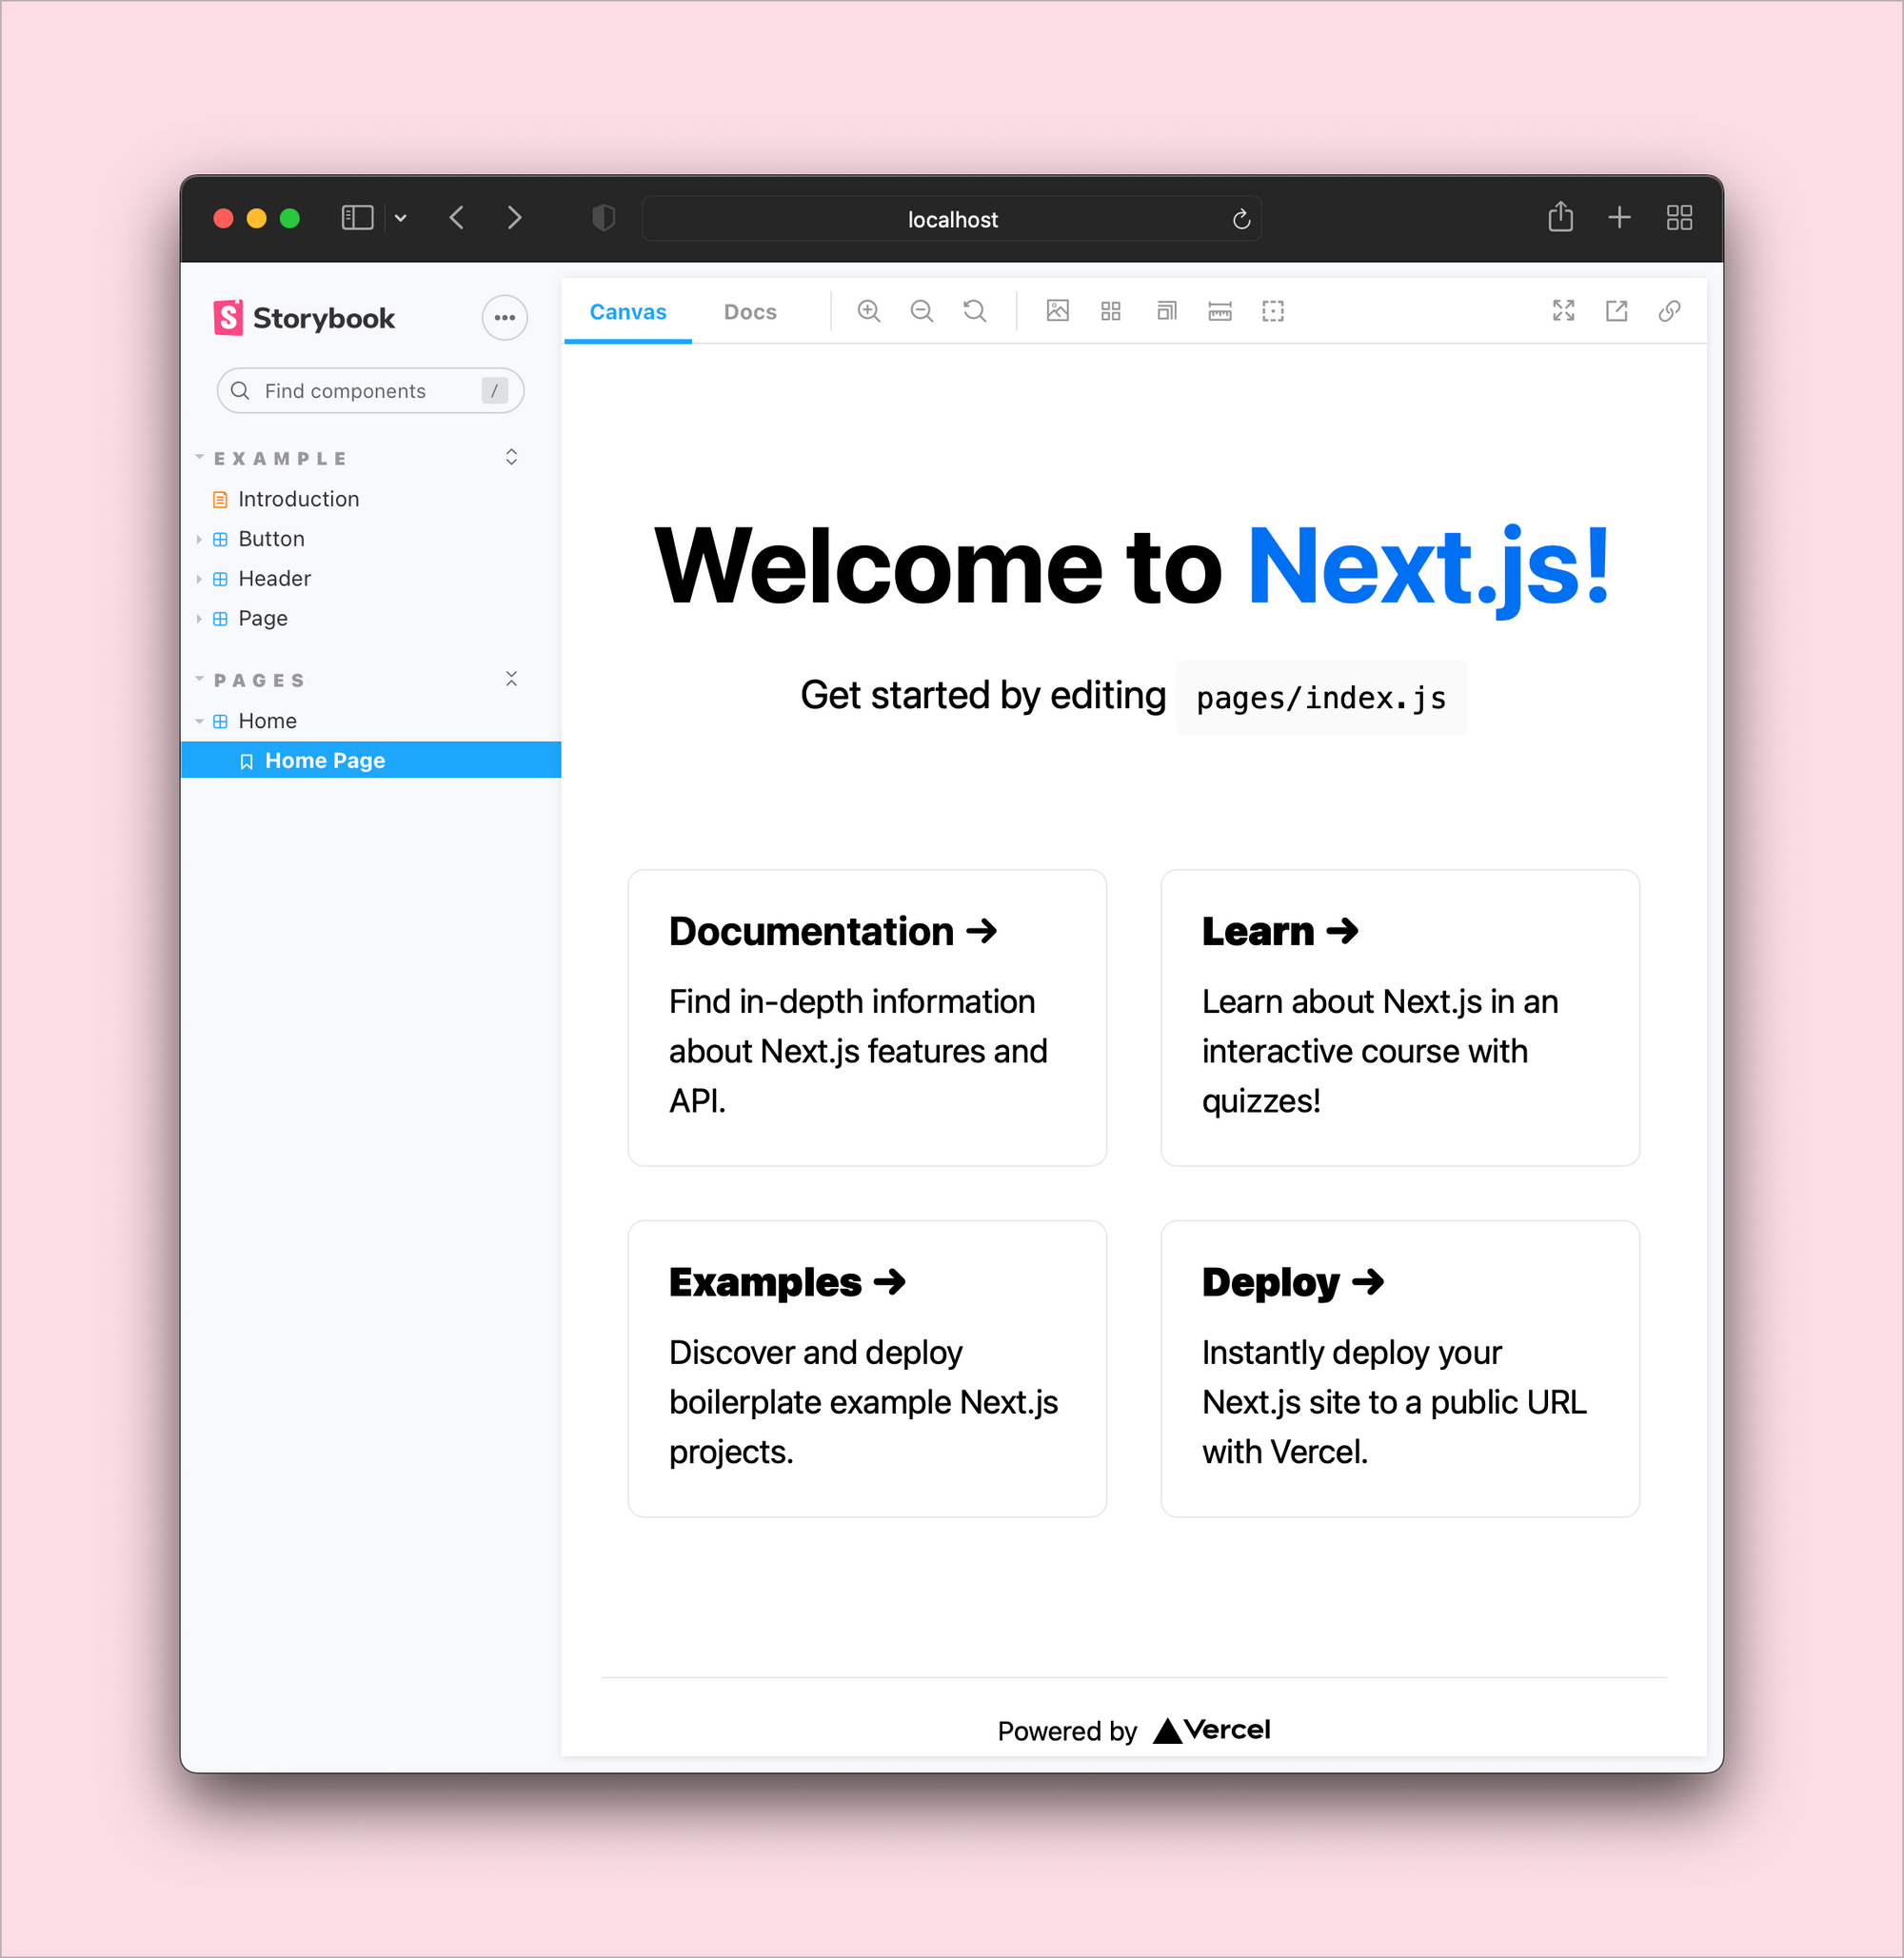
We now have our Home page in Storybook. But it isn't much to look at yet. We need to import global styles.

Import shared, global stylesheets in preview.js
Most apps have stylesheet for global resets or font styles that is shared globally. Our Next.js tutorial app holds global styles in /styles/globals.css.
We can import our global stylesheet into our home.stories.jsx story file. But doing so would require a lot of duplication in story files — a very error-prone process. It'd be better to import global stylesheets one for all stories.
Storybook holds shared story configuration in .storybook/preview.js. This file controls the way all stories are rendered. Stylesheets can be imported with a module import:
// .storybook/preview.js
import "../styles/globals.css";

We did it! Save for a broken image, our story looks like the homepage served from Next.js.
For more ways to handle styles in Storybook, check out our Styling and CSS guide.
De-optimize Next.js Image in stories
The most challenging part of a Next.js and Storybook integration is handling images.

Next.js v10 and newer include the Next.js Image component. In their words, it's "an extension of the HTML <img>element, evolved for the modern web." Utilizing it optimizes file size, visual stability, and load times. It's a marvel of UI engineering.
Because Storybook runs these components in isolation of Next.js framework-integrations, we need to configure it in two important ways:
- Serve the Next.js
publicdirectory in Storybook - Add the
unoptimizedprop to Next.js Image component in all stories
1. Serve the public directory in Storybook
The sb init script creates two Storybook scripts in our package.json. Update both of them to serve the publicdirectory (where Next.js images are kept). The CLI option we use for this is -s. or --static-dir.
// package.json

"scripts": {
-    "storybook": "start-storybook -p 6006",
-    "build-storybook": "build-storybook"
+    "storybook": "start-storybook -p 6006 -s ./public",
+    "build-storybook": "build-storybook -s public"
}
Find more CLI options in our CLI options doc. And learn more about Serving Static Files via Storybook.
2. Use the unoptimized prop for Next.js Images in Storybook
Everywhere that the Next.js Image component is used, images are served from a /_next-prefixed path. We want to utilize Next Image's prop APIs and attributes, but we don't want to require that the Next.js dev server be running. We can do exactly this with the unoptimized prop. But how do we do this in Storybook but not Next.js 🤔
With a bit of module trickery, we can de-optimize Next.js Image only in stories.
// .storybook/preview.js
import * as NextImage from "next/image";

const OriginalNextImage = NextImage.default;

Object.defineProperty(NextImage, "default", {
  configurable: true,
  value: (props) => <OriginalNextImage {...props} unoptimized />,
});
This snippet of configuration modifies how Storybook evaluates the next/image module. Anywhere that Next.js Image's default export is used, the unoptimized prop is applied.
Restart your server and check out the Vercel SVG at the bottom. We're back in business!
For more information on this technique, read How to Use the Next.js Image Component in Storybook — a fantastic post by Jonas Schumacher.


What's next?
You've already done a great job with this Next.js and Storybook integration. But there's so much more that we can do!
If you're hungry for more, checkout my YouTube tutorial. I take this integration even further with Mock Service Worker for use with getServerSideProps and getStaticProps.
What are your Next.js🤝Storybook tips?
We want to hear from you!
What wisdom can you share about making Next.js and Storybook a super dev environment? Comment here or join the Storybook Discord Server! We can't wait to meet you 🤩
Next.js 12 is here! @chantastic shares four quick tips to get the most from Next.js and Storybook!
— Storybook (@storybookjs) November 10, 2021
📦 Use Webpack 5
📑 Write stories for Next.js pages
🌎 Import shared global styles in preview.js
⬇️ Integrate next/imagehttps://t.co/By5EfB4XnI pic.twitter.com/jED2qN0crP