画面を作る
小さな単位から始めて複雑さを加えていく「ボトムアップ」方式での UI の作成に注力してきました。この手法をとることで、各コンポーネントを切り離して開発し、必要なデータを定義し、Storybook 上で動作を試すことができました。これらはすべて、サーバーを立ち上げたり、画面全体を作り込んだりすることなく実現できたのです!
この章では Storybook を使用して、コンポーネントを組み合わせて画面を作り、完成度を高めていきます。
繋がれた画面
このアプリケーションはとても単純なので、作る画面は些細なものです。リモート API からデータを取得し、(Pinia 経由でデータを取得する) TaskList コンポーネントをレイアウトで囲み、ストアからトップレベルの error フィールドを取り出すだけです (サーバーとの接続に問題がある場合にこのフィールドが設定されると仮定しましょう)。
まず、リモート API に接続してさまざまな状態 (error、succeeded) をアプリケーションで扱えるようにするために、ストア (src/store.ts 内) をアップデートするところから始めましょう。
import type { TaskData } from './types'

/* A simple Pinia store/actions implementation.
 * A true app would be more complex and separated into different files.
 */
import { defineStore } from 'pinia'

interface TaskBoxState {
  tasks: TaskData[]
  status: 'idle' | 'loading' | 'failed' | 'succeeded'
  error: string | null
}

/*
 * The store is created here.
 * You can read more about Pinia defineStore in the docs:
 * https://pinia.vuejs.org/core-concepts/
 */
export const useTaskStore = defineStore('taskbox', {
  state: (): TaskBoxState => ({
    tasks: [],
    status: 'idle',
    error: null,
  }),
  actions: {
    archiveTask(id: string) {
      const task = this.tasks.find((task) => task.id === id)
      if (task) {
        task.state = 'TASK_ARCHIVED'
      }
    },
    pinTask(id: string) {
      const task = this.tasks.find((task) => task.id === id)
      if (task) {
        task.state = 'TASK_PINNED'
      }
    },
    async fetchTasks() {
      this.status = 'loading'
      try {
        const response = await fetch('https://jsonplaceholder.typicode.com/todos?userId=1')
        const data = await response.json()
        const result = data
          .map((task: { id: number; title: string; completed: boolean }) => ({
            id: `${task.id}`,
            title: task.title,
            state: task.completed ? 'TASK_ARCHIVED' : 'TASK_INBOX',
          }))
          .filter((task: TaskData) => task.state === 'TASK_INBOX' || task.state === 'TASK_PINNED')
        this.tasks = result
        this.status = 'succeeded'
      } catch (error) {
        if (error && typeof error === 'object' && 'message' in error) {
          this.error = (error as Error).message
        } else {
          this.error = String(error)
        }
        this.status = 'failed'
      }
    },
  },
  getters: {
    getFilteredTasks: (state) => {
      const filteredTasks = state.tasks.filter(
        (t) => t.state === 'TASK_INBOX' || t.state === 'TASK_PINNED',
      )
      return filteredTasks
    },
  },
})
リモート API エンドポイントからデータを取得するようにストアを更新し、アプリのさまざまな状態を処理できるように準備したので、InboxScreen.vue を src/components ディレクトリに作成しましょう。
<template>
  <div>
    <div v-if="isError" class="page lists-show">
      <div class="wrapper-message">
        <span class="icon-face-sad" />
        <p class="title-message">Oh no!</p>
        <p class="subtitle-message">Something went wrong</p>
      </div>
    </div>
    <div v-else class="page lists-show">
      <nav>
        <h1 class="title-page">Taskbox</h1>
      </nav>
      <TaskList />
    </div>
  </div>
</template>
<script lang="ts" setup>
import { computed } from 'vue'

import { useTaskStore } from '../store'

import TaskList from './TaskList.vue'

//👇 Creates a store instance
const store = useTaskStore()
// 👇 Fetches tasks for the store
store.fetchTasks()

//👇 Retrieves the error from the store's state
const isError = computed(() => store.status === 'failed')
</script>
次に、アプリのエントリーポイント (src/main.ts) を更新し、ストアをコンポーネント階層に接続できるようにします。
import { createApp } from 'vue'
+ import { createPinia } from 'pinia'
- import './style.css'

import App from './App.vue'


- createApp(App).mount('#app')
+ createApp(App).use(createPinia()).mount('#app')
さらに、App コンポーネントを InboxScreen を描画するように変更します (いずれはルーターにどの画面を表示するか決めてもらいますが、今は気にしないでください)。
<script setup lang="ts">
import InboxScreen from './components/InboxScreen.vue'
</script>

<template>
  <InboxScreen />
</template>
<style>
@import './index.css';
</style>
しかし、面白くなるのは Storybook でストーリーをレンダリングするときです。
以前確認をしたように、TaskList コンポーネントは表示用の PureTaskList コンポーネントをレンダリングするコンテナです。定義上、コンテナコンポーネントは切り離された環境ではレンダリングできません。何らかのコンテキストを渡すか、サービスに接続する必要があります。つまり、Storybook でコンテナをレンダリングするには、コンテキストやサービスをモックしなければなりません。
TaskList を Storybook に表示した際には、コンテナを避けて単に PureTaskList をレンダリングすることで、この問題を回避できました。しかし、アプリケーションが成長するにつれて、接続されたコンポーネントを Storybook から除外し、各々に表示用コンポーネントを作成するのはすぐに管理しきれなくなります。InboxScreen は接続されたコンポーネントなので、ストアとストアが提供するデータをモックする方法を用意する必要があります。
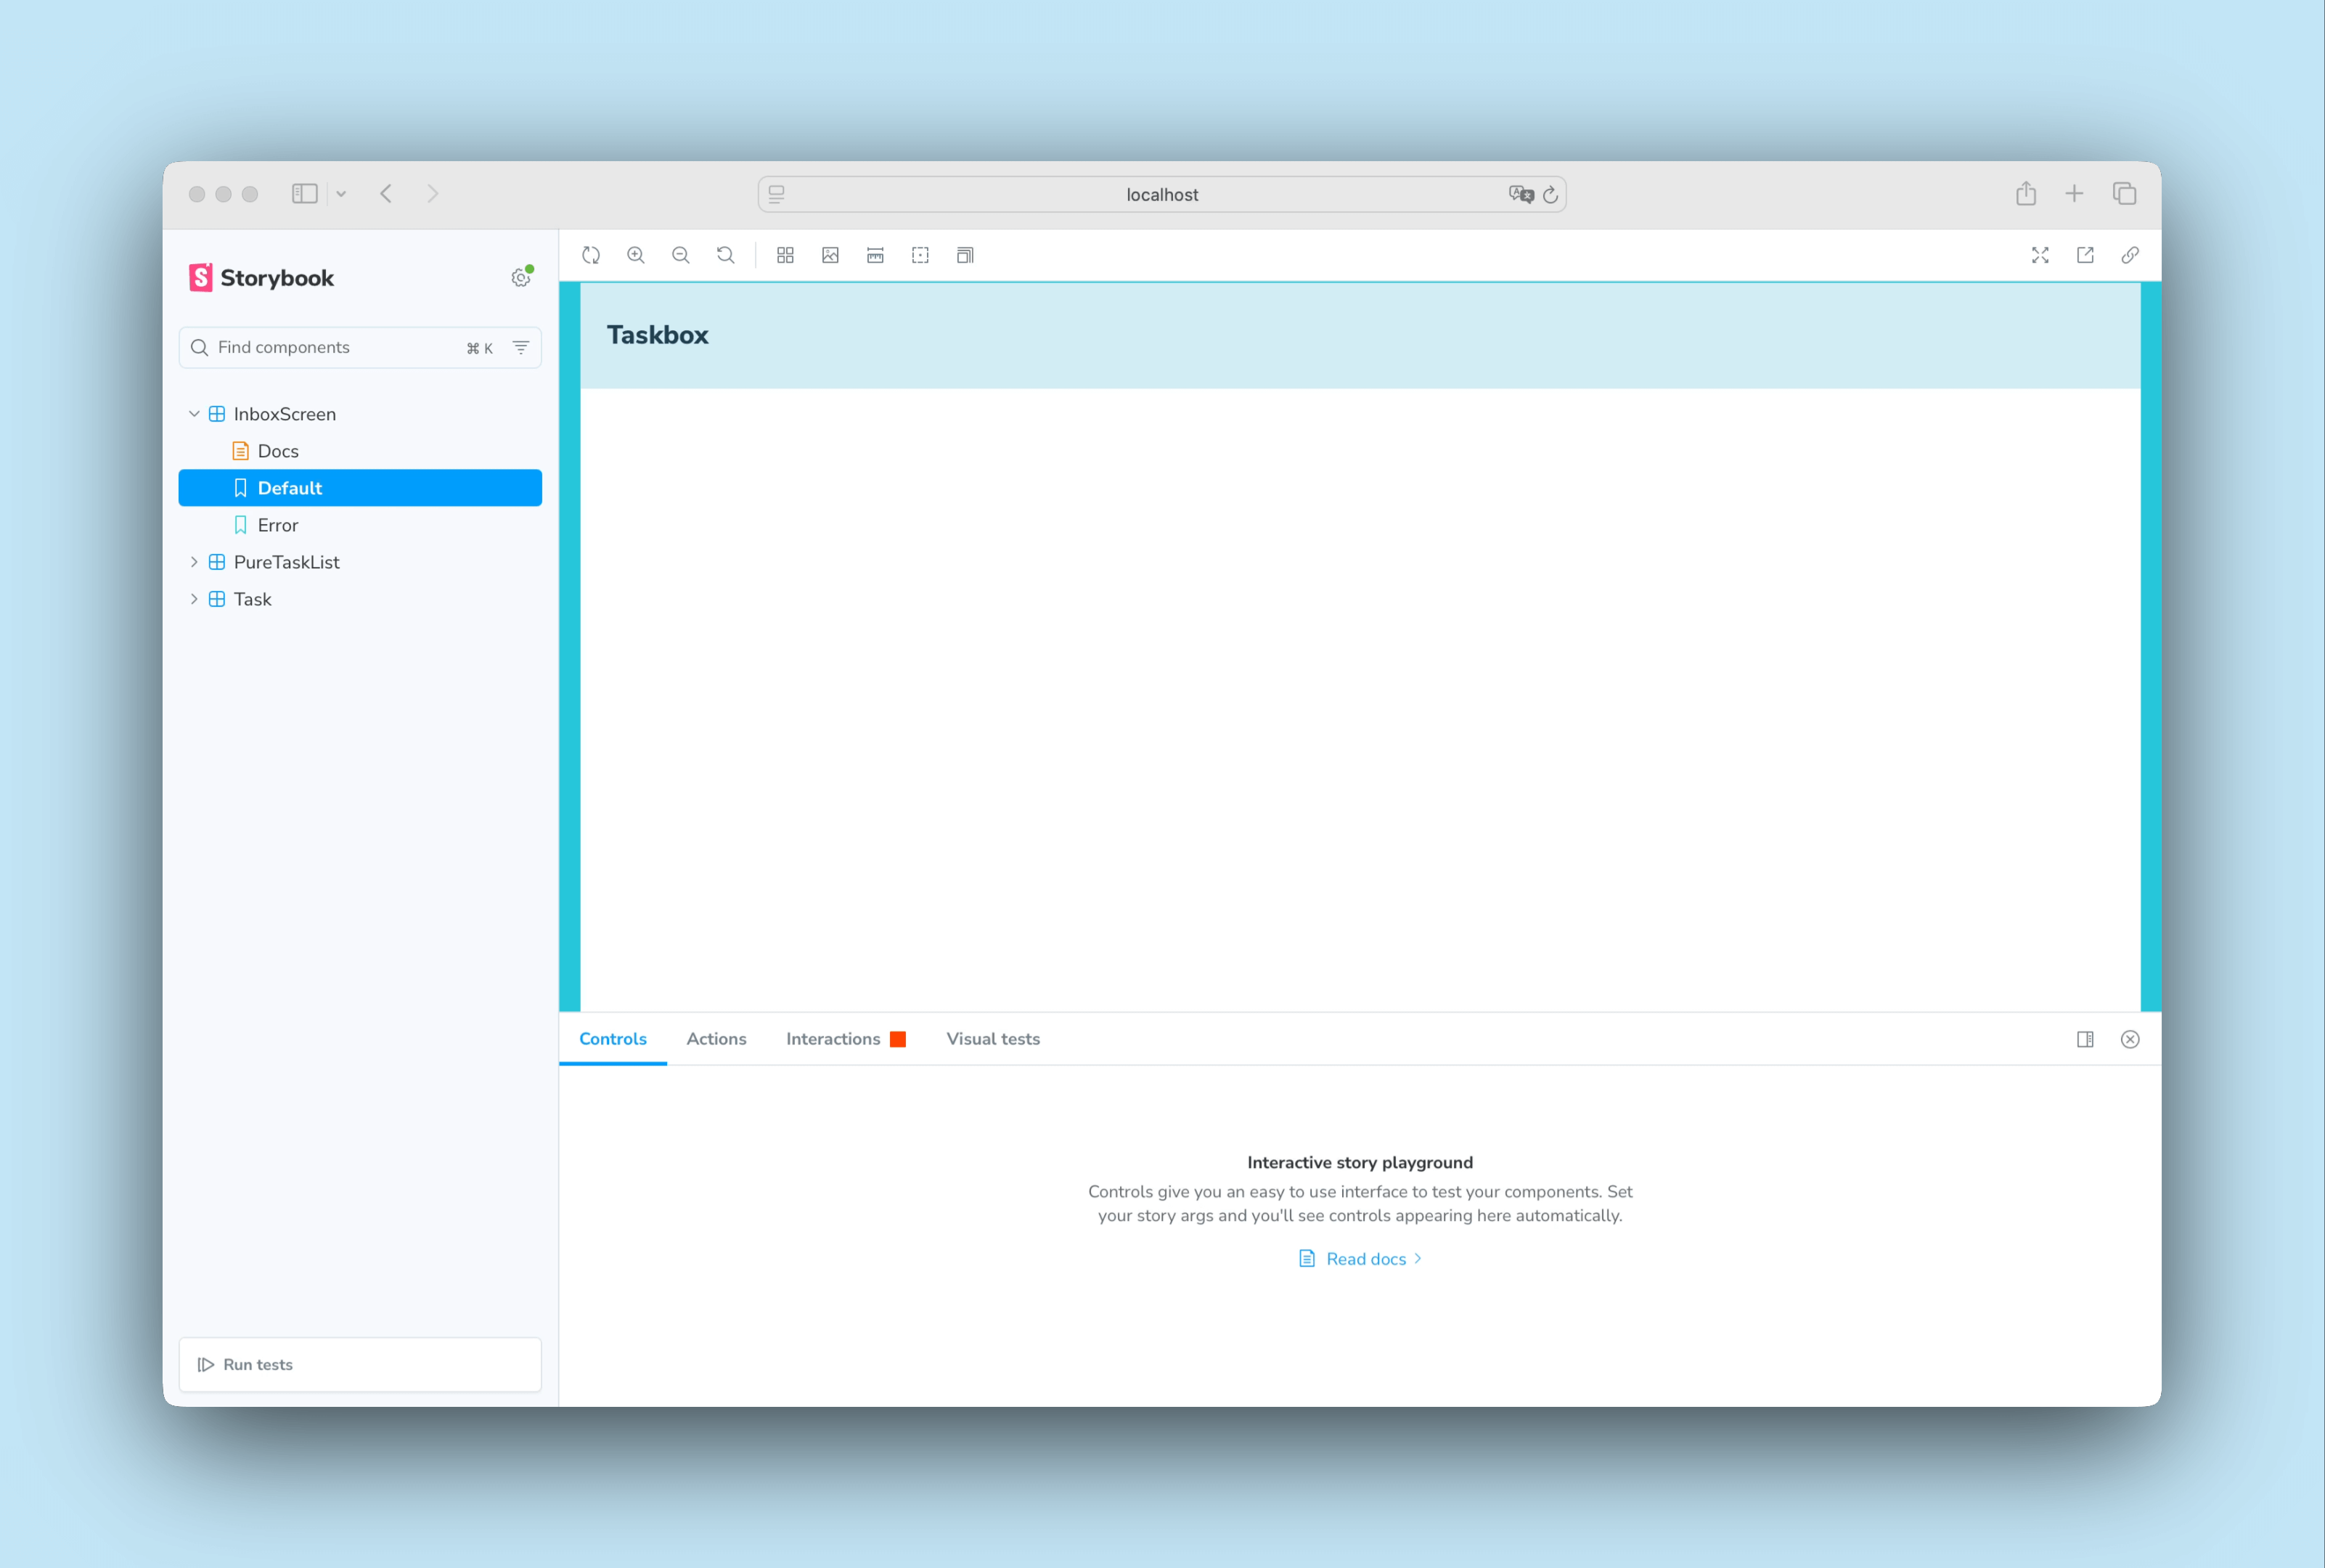
以下のように InboxScreen.stories.ts でストーリーを設定します。
import type { Meta, StoryObj } from '@storybook/vue3-vite'

import InboxScreen from './InboxScreen.vue'

const meta = {
  component: InboxScreen,
  title: 'InboxScreen',
  tags: ['autodocs'],
} satisfies Meta<typeof InboxScreen>

export default meta
type Story = StoryObj<typeof meta>

export const Default: Story = {}

export const Error: Story = {}
私たちはストーリーですぐに問題を発見できます。正しい状態が表示されず、タスクのない空の画面が表示されます。前章で行ったように、PureInboxScreen 表示用コンポーネントを作成してタスクとエラー状態を props として受け取る方法もあります。しかし、前述のとおり、接続されたコンポーネントが増えるにつれてこのアプローチは管理しきれなくなります。ストーリーに必要なコンテキストを提供する方法を見てみましょう。
ストーリーにコンテキストを提供する
InboxScreen を正しくレンダリングするには、Pinia ストアに適切な状態とアクションを提供し、ストーリー全体で再利用できるようにする必要があります。これを実現するために、.storybook/preview.ts を更新し、Storybook の setup 関数を使って既存の Pinia ストアを登録します。
import type { Preview } from '@storybook/vue3-vite'

+ import { setup } from '@storybook/vue3-vite'

+ import { createPinia } from 'pinia'

import '../src/index.css';

//👇 Registers a global Pinia instance inside Storybook to be consumed by existing stories
+ setup((app) => {
+   app.use(createPinia());
+ });

const preview: Preview = {
  parameters: {
    controls: {
      matchers: {
        color: /(background|color)$/i,
        date: /Date$/,
      },
    },
  },
}

export default preview;
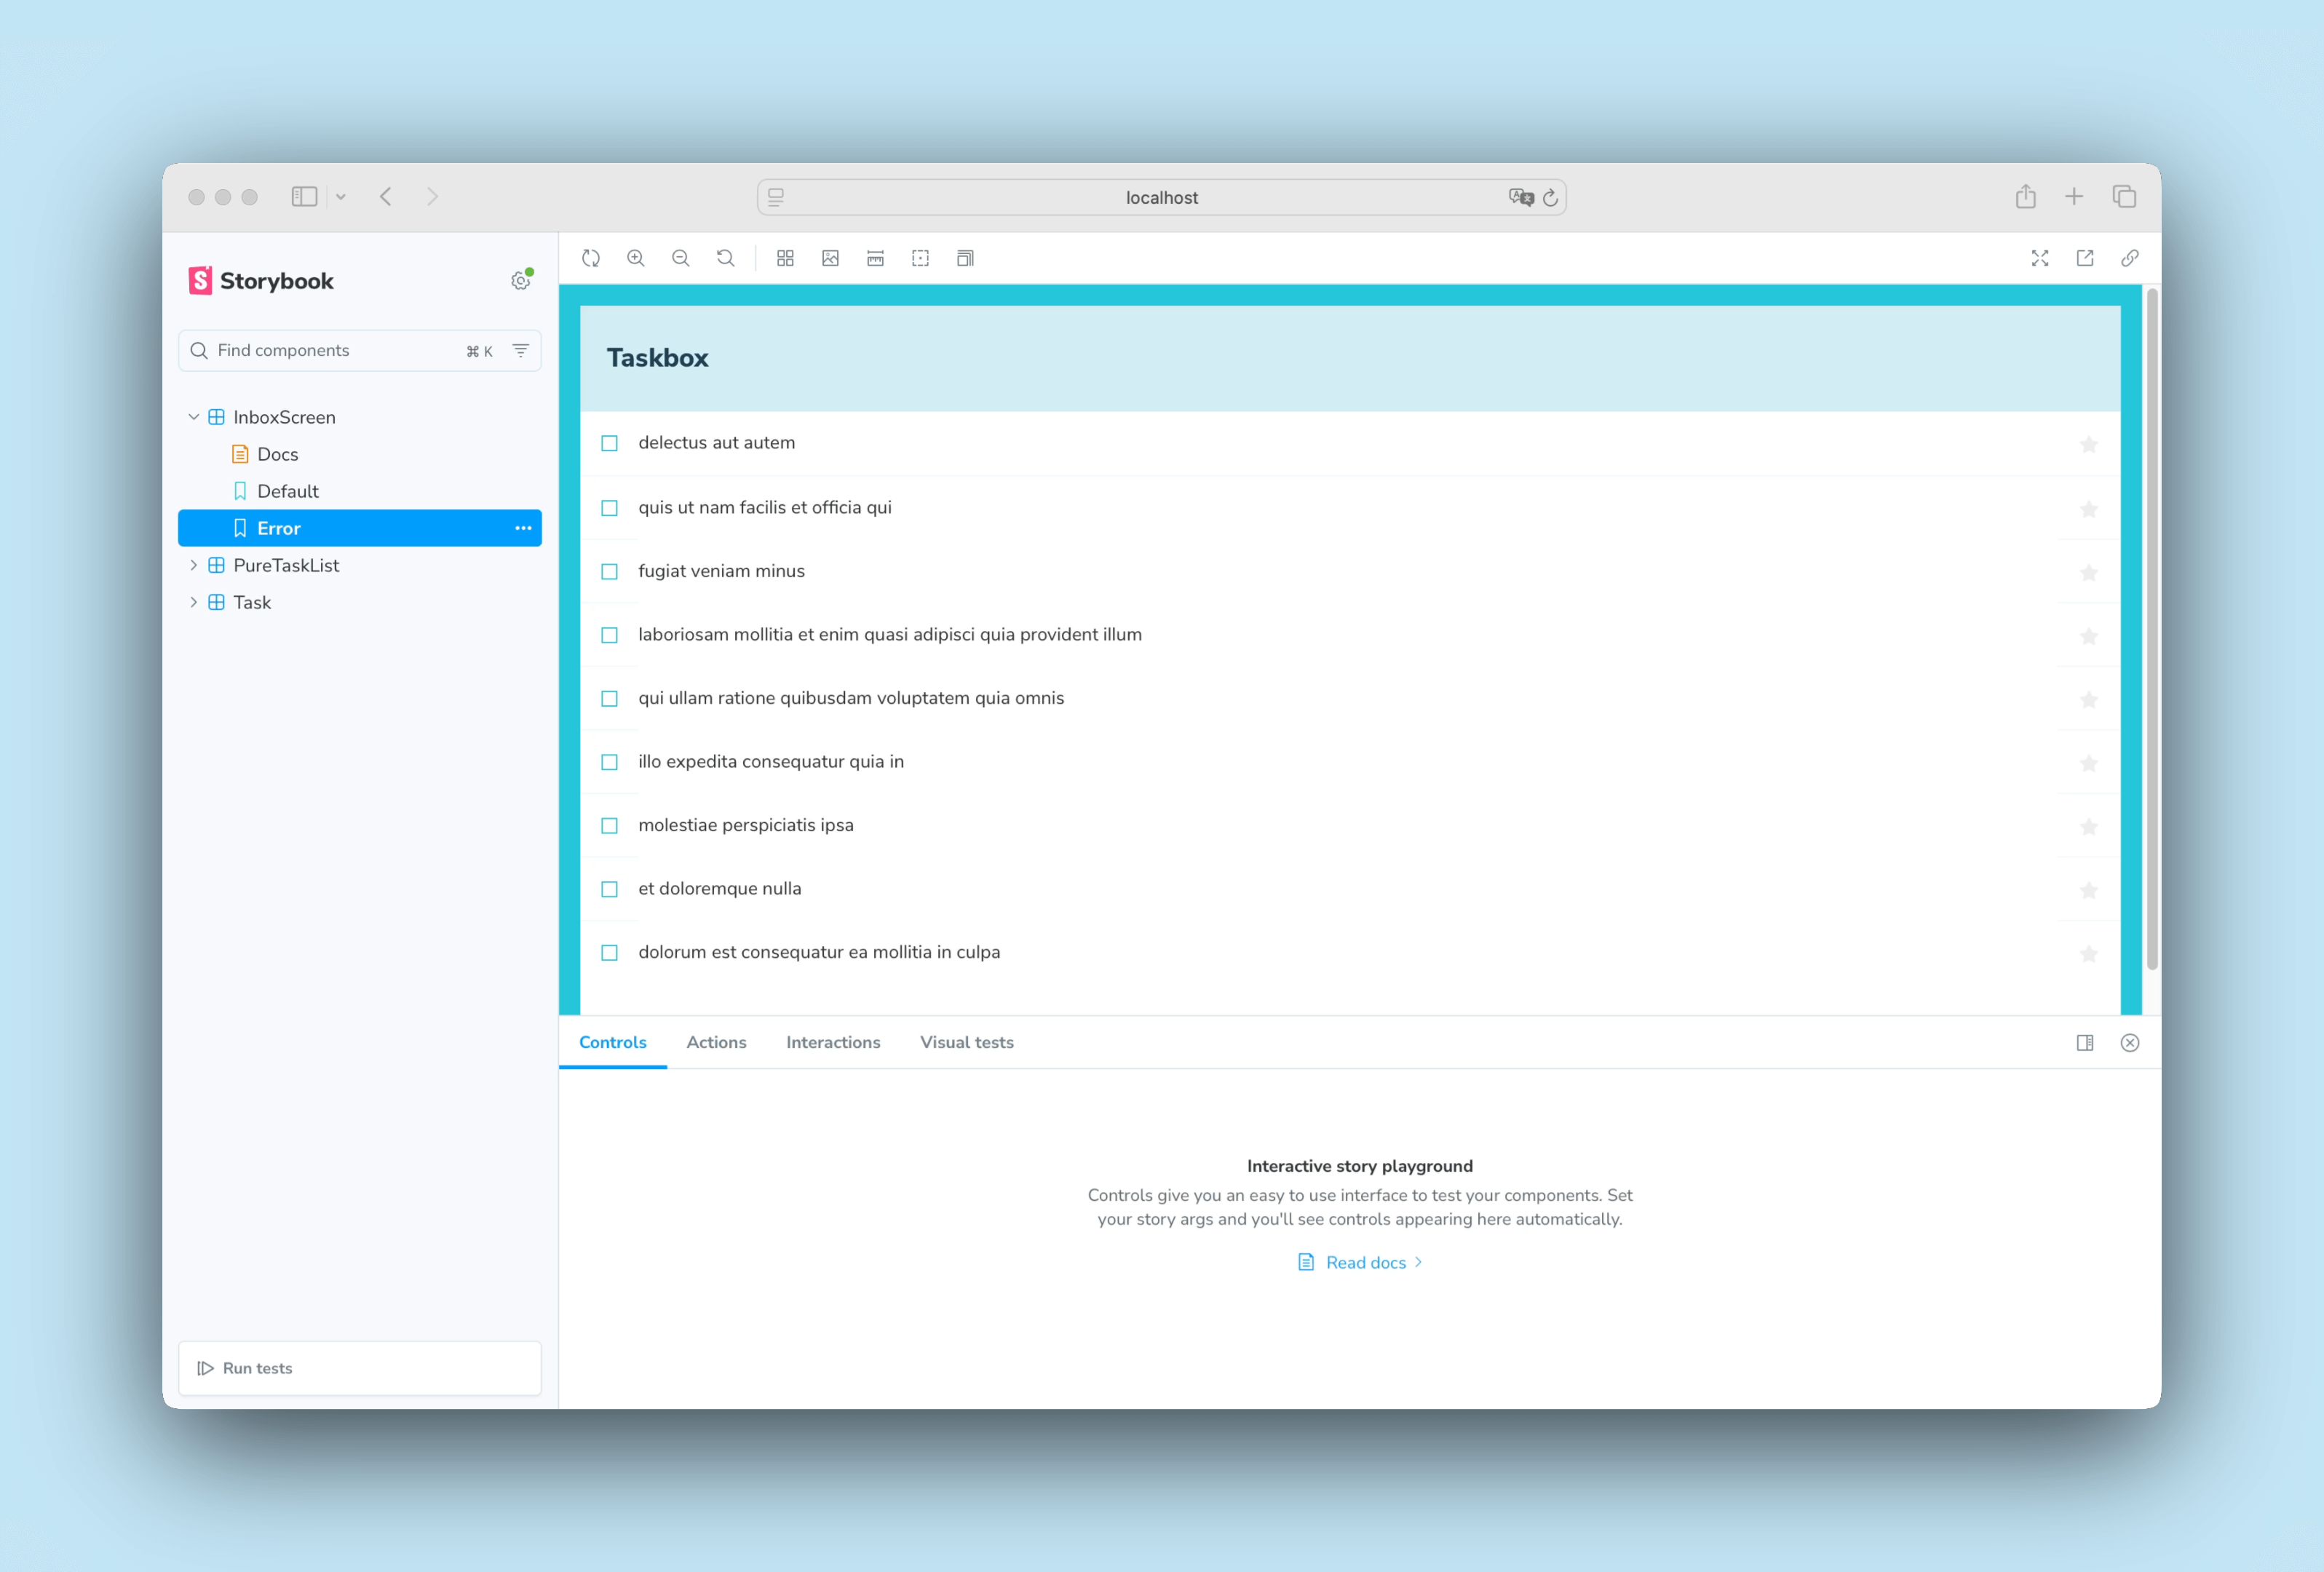
ストアを登録したので、InboxScreen ストーリーがレンダリングされるようになりましたが、Error ストーリーにはまだ問題があります。正しい状態が表示されず、タスクのリストが表示されてしまいます。この問題を解決するために、さまざまなアプローチを取ることができますが、代わりに、よく知られた API モッキングライブラリと Storybook アドオンを組み合わせて解決します。
API をモックする
今回のアプリケーションは単純で、リモート API 呼び出しにあまり依存しないので、Mock Service Worker と Storybook MSW アドオン を使用することにします。Mock Service Worker は、API モックライブラリです。Service Worker に依存してネットワークリクエストを捕捉し、レスポンスとしてモックデータを返します。
初めの章 でアプリケーションをセットアップしたときに、これらのパッケージはすでにインストールされています。あとは、それらを設定しストーリーを更新して使用するのみです。
ターミナルで以下のコマンドを実行し、public フォルダの中にサービスワーカーを生成します。
yarn init-msw
その後、.storybook/preview.ts を更新して初期化します。
import type { Preview } from '@storybook/vue3-vite'

import { setup } from '@storybook/vue3-vite'

+ import { initialize, mswLoader } from 'msw-storybook-addon'

import { createPinia } from 'pinia'

import '../src/index.css'

//👇 Registers a global Pinia instance inside Storybook to be consumed by existing stories
setup((app) => {
  app.use(createPinia())
})

// Registers the msw addon
+ initialize()

const preview: Preview = {
  parameters: {
    controls: {
      matchers: {
        color: /(background|color)$/i,
        date: /Date$/,
      },
    },
  },
+ loaders: [mswLoader],
}

export default preview
最後に、InboxScreen のストーリーを更新し、リモート API 呼び出しをモックするパラメーターを組み込みます。
import type { Meta, StoryObj } from '@storybook/vue3-vite'

+ import { http, HttpResponse } from 'msw'

import InboxScreen from './InboxScreen.vue'

+ import * as PureTaskListStories from './PureTaskList.stories.ts'

const meta = {
  component: InboxScreen,
  title: 'InboxScreen',
  tags: ['autodocs'],
} satisfies Meta<typeof InboxScreen>

export default meta
type Story = StoryObj<typeof meta>

export const Default: Story = {
+ parameters: {
+   msw: {
+     handlers: [
+       http.get('https://jsonplaceholder.typicode.com/todos?userId=1', () => {
+         return HttpResponse.json(PureTaskListStories.TaskListData);
+       }),
+     ],
+   },
+ },
};

export const Error: Story = {
+ parameters: {
+   msw: {
+     handlers: [
+       http.get('https://jsonplaceholder.typicode.com/todos?userId=1', () => {
+         return new HttpResponse(null, {
+           status: 403,
+         });
+       }),
+     ],
+   },
+ },
};
Storybook で Error ストーリーが意図したように動作していることが確認できます。MSW がリモート API をインターセプトして、適切なレスポンスを返しました。
コンポーネントのテスト
これまでで、シンプルなコンポーネントから画面まで、完全に機能するアプリケーションを作り上げ、ストーリーを用いてそれぞれの変更を継続的にテストすることができるようになりました。しかし、新しいストーリーを作るたびに、UI が壊れていないかどうか、他のすべてのストーリーを手作業でチェックする必要もあります。これは、とても大変な作業です。
この作業を自動化し、コンポーネントの挙動を自動でテストすることはできないのでしょうか?
play 関数を使ったコンポーネントのテスト
Storybook の play を使えば、この問題を解決できます。play 関数はストーリーのレンダリング後に実行される小さなコードスニペットを含んでいます。フレームワークに依存しない DOM API を使用しているため、play 関数を使って UI を操作し、人間の行動をシミュレートするストーリーを、フロントエンドのフレームワークに関係なく書くことができます。タスクが更新されたときに UI が期待どおりに動作するかを検証するために使用します。
新しく作成した InboxScreen ストーリーを更新し、以下のようにコンポーネント操作を追加してみましょう。
import type { Meta, StoryObj } from '@storybook/vue3-vite'

+ import { waitFor, waitForElementToBeRemoved } from 'storybook/test'

import { http, HttpResponse } from 'msw'

import InboxScreen from './InboxScreen.vue'

import * as PureTaskListStories from './PureTaskList.stories.ts'

const meta = {
  component: InboxScreen,
  title: 'InboxScreen',
  tags: ['autodocs'],
} satisfies Meta<typeof InboxScreen>

export default meta
type Story = StoryObj<typeof meta>

export const Default: Story = {
  parameters: {
    msw: {
      handlers: [
        http.get('https://jsonplaceholder.typicode.com/todos?userId=1', () => {
          return HttpResponse.json(PureTaskListStories.TaskListData);
        }),
      ],
    },
  },
+ play: async ({ canvas, userEvent }: any) => {
+   await waitForElementToBeRemoved(await canvas.findByTestId('empty'))
+   await waitFor(async () => {
+     await userEvent.click(canvas.getByLabelText('pinTask-1'))
+     await userEvent.click(canvas.getByLabelText('pinTask-3'))
+   })
+ },
};

export const Error: Story = {
  parameters: {
    msw: {
      handlers: [
        http.get('https://jsonplaceholder.typicode.com/todos?userId=1', () => {
          return new HttpResponse(null, {
            status: 403,
          });
        }),
      ],
    },
  },
};
💡 Interactions パネルは Storybook 上でテストを可視化するのに役立ちます。ステップごとのフローを提供し、各インタラクションの一時停止、再開、巻き戻し、ステップ実行といった便利な UI 制御機能も備わっています。
Default ストーリーを確認します。Interactions パネルをクリックすると、ストーリーの play 関数内のインタラクションのリストが表示されます。
test runner によるテストの自動化
play 関数を使うことで、コンポーネントに対するユーザーの操作を素早くシミュレートし、タスク更新時の挙動を検証して、UI の整合性を保つことができるようになりました。しかし、Storybook を確認すると、インタラクションテストはストーリーを表示したときにしか実行されないことがわかります。つまり、何か変更を加えた場合、すべてのチェックをおこなうには、各ストーリーを一つずつ開いていく必要があるのです。これも自動化できないものでしょうか?
解決できます!Storybook の Vitest アドオンを使えば、Vitest のパワーを活用して、より自動化された、高速かつ効率的なテスト体験を実現できます。どのように動くのか見てみましょう!
Storybook を起動した状態で、サイドバーの「Run Tests」をクリックしてください。これにより、ストーリーのレンダリング、動作、play 関数で定義されたインタラクション (先ほど InboxScreen ストーリーに追加したものを含む) に対してテストが実行されます。
💡 Vitest アドオンは、ここで紹介したもの以外にも、さまざまな種類のテストを実行できます。詳しくは公式ドキュメントを読むことをお勧めします。
これで、手作業でのチェックを必要とせずに UI テストを自動化するツールが揃いました。アプリケーションの開発を続けていく中で、UI の一貫性と機能性を維持するための優れた方法です。さらに、テストが失敗した場合はすぐに通知されるので、問題を素早く簡単に修正できます。
コンポーネント駆動開発
まず、一番下の Task から始めて、TaskList を作り、画面全体の UI ができました。InboxScreen では繋がれたコンポーネントを含み、一緒にストーリーも作成しました。
コンポーネント駆動開発 (CDD) はコンポーネント階層を上がるごとに少しずつ複雑性を拡張します。利点としては、開発プロセスに集中できること、UI の組み合わせの網羅性を向上できること、が挙げられます。要するに、CDD によって、高品質で複雑な UI を作ることができます。
まだ終わりではありません。UI を作成しても作業は終わりません。長期間にわたり耐久性を維持できるようにしなければなりません。