Storybook Vue 教程
在你的开发环境下配置Storybook
此社区翻译尚未更新为最新的Storybook版本。通过应用此翻译的中文指南中的更改来帮助我们更新它。 Pull requests 欢迎他们.
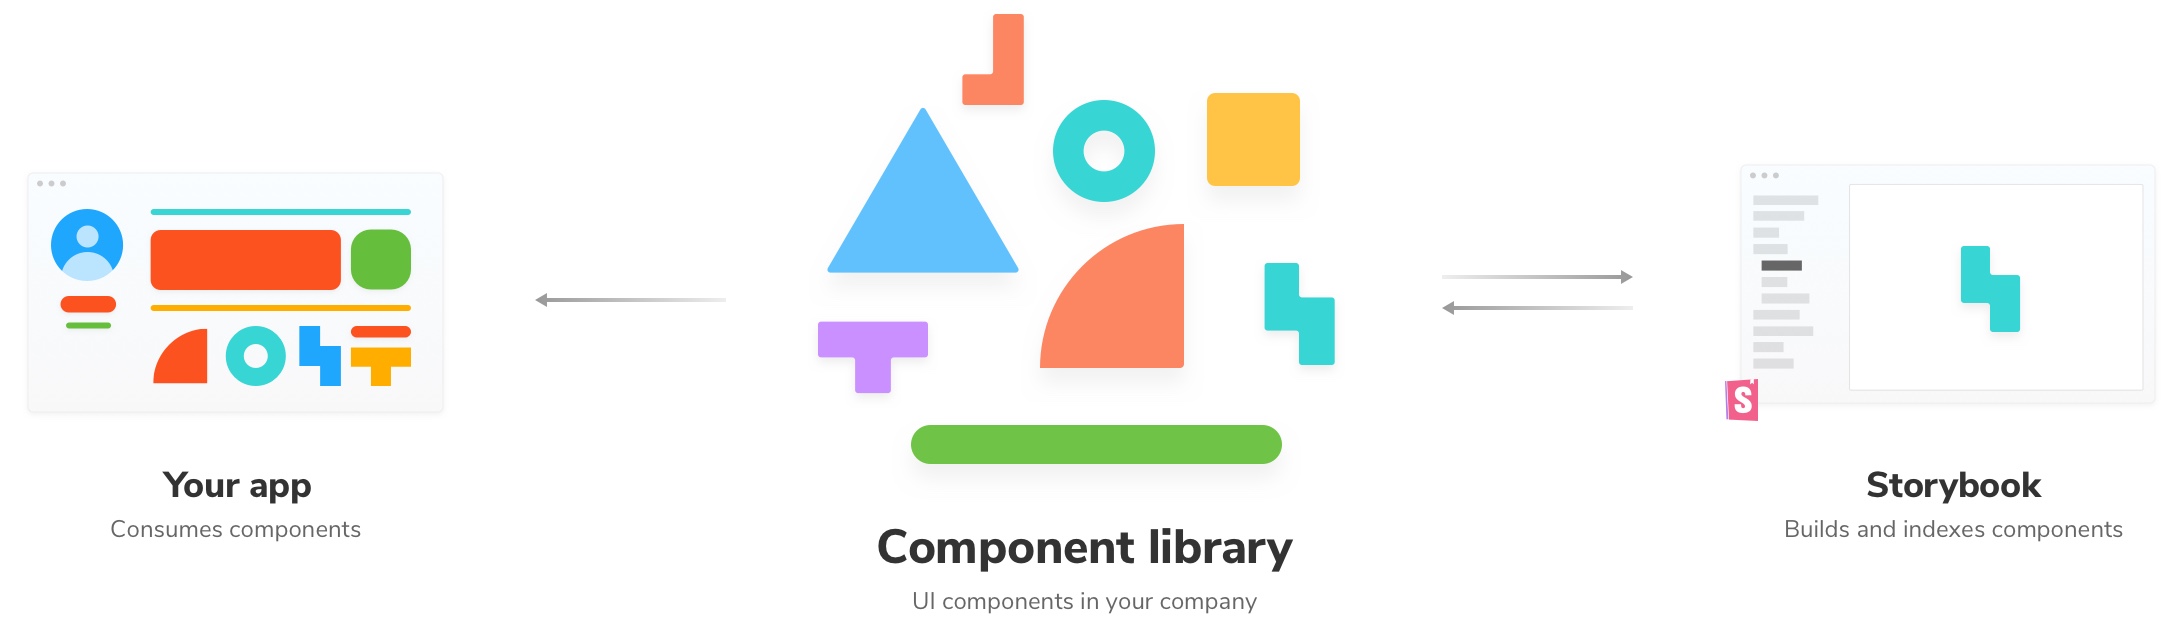
Storybook 是在开发模式下与您的应用程序一同运行的。它可以帮助您构建 UI 组件,并且将其与您应用程序中的业务逻辑和上下文分离开来。这份教程适用于 Vue;其他的则适用于React,React Native,Angular,Svelte。
设置 Vue Storybook
我们将会通过下述的几个步骤来设置我们的环境。首先,我们使用degit来设置我们的构建系统。您可以通过使用此包下载“模板”(一个包含了某些默认设置的部分构建好的应用程序),来帮助您快速跟踪您的开发流程。
让我们运行下述的命令:
# Clone the template
npx degit chromaui/intro-storybook-vue-template taskbox

cd taskbox

# Install dependencies
yarn
💡上述模板包含了学习此教程所需的样式,资源和基本配置。
现在通过下述的命令行我们可以快速查看应用程序中的各个环境是否正常运行:
# Start the component explorer on port 6006:
yarn storybook

# Run the frontend app proper on port 5173:
yarn dev
我们的三个前端应用程序模式:自动化测试(Jest),组件开发(Storybook)和应用程序本身。
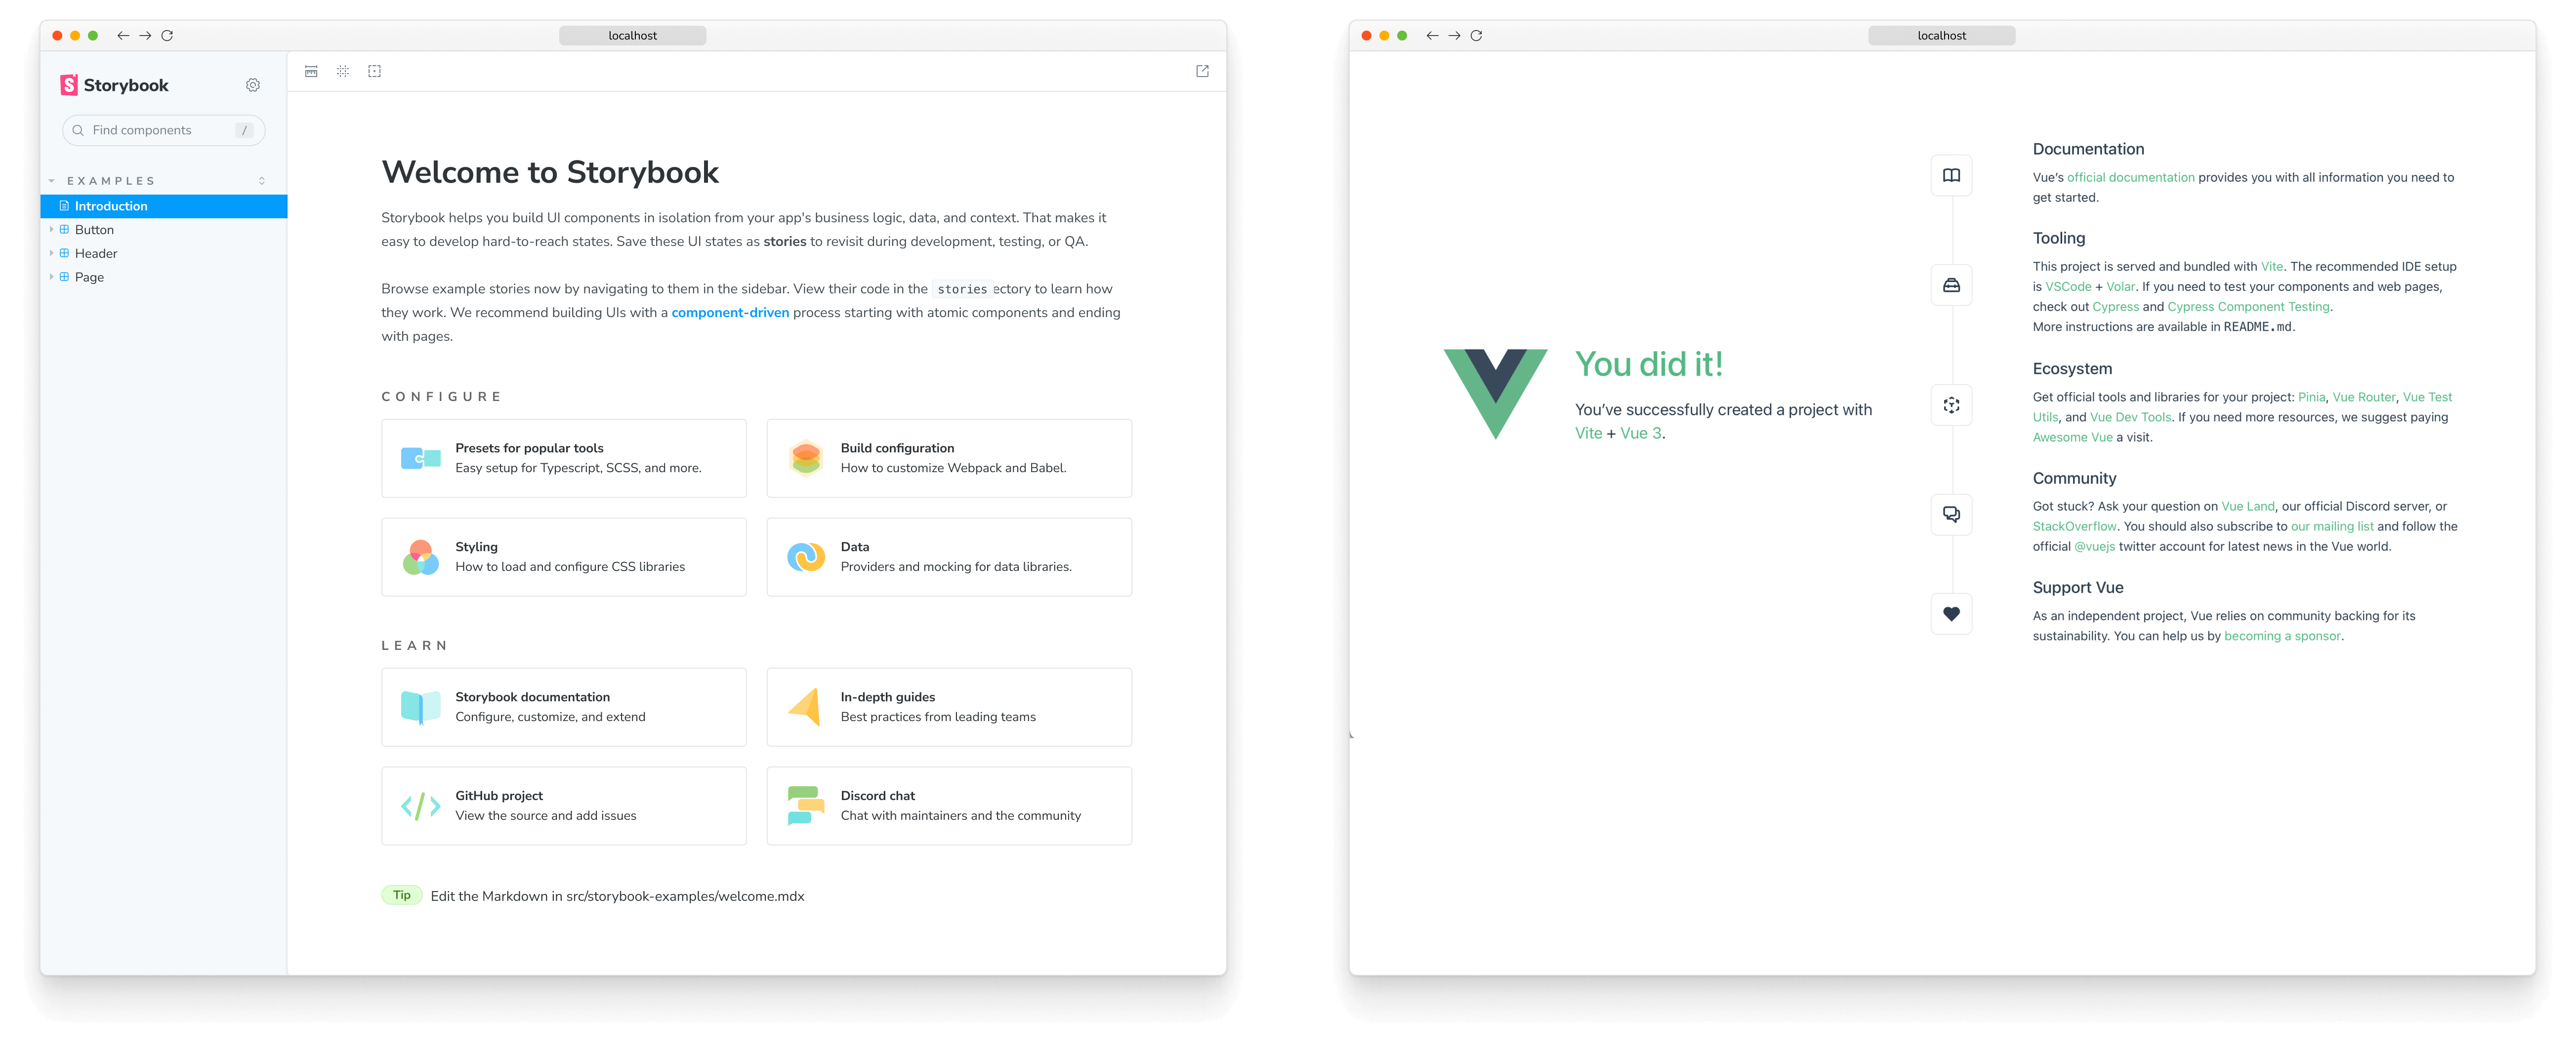
您可以根据您目前所处理的应用程序的不同部分来决定同时运行上述三个中的一个或者多个。因为我们现在专注于创建一个简单的 UI 组件,所以我们继续运行 Storybook。
提交修改
进行到此阶段我们可以安全的将文件添加进本地仓库中了。运行下述的命令初始化本地仓库,然后提交我们目前为止的修改。
执行下述的命令行将我们目前为止的修改添加到 commit 中。
git init
接着是:
git add .
然后:
git commit -m "first commit"
最后:
git branch -M main
让我们创建第一个组件吧!