Storybook for Ember tutorial
Storybook runs alongside your app in development mode. It helps you build UI components isolated from the business logic and context of your app. This edition of the Intro to Storybook tutorial is for Ember; other editions exist for React, React Native, Vue, Angular and Svelte.
Set up Ember Storybook
We'll need to follow a few steps to get the build process set up in our environment. To start with, we want to use degit to set up our build system. Using this package, you can download "templates" (partially built applications with some default configuration) to help you fast track your development workflow.
Let’s run the following commands:
# Clone the template
npx degit chromaui/intro-storybook-ember-template taskbox

cd taskbox

# Install dependencies
yarn
Worth mentioning that you might encounter the following message during the installation process:
The ember generate entity-name command requires an entity name to be specified. For more details, use ember help.
This is just a warning related to the @storybook/ember-cli-storybook package. Everything is properly set up.
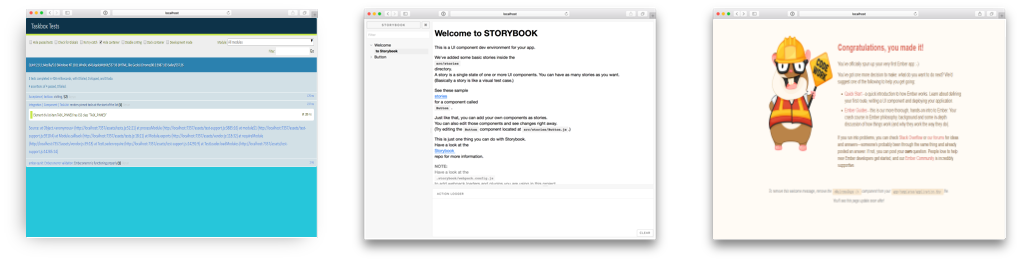
Now we can quickly check that the various environments of our application are working properly:
# Run the test runner (Qunit) in a terminal:
ember test --server

# Run the frontend app proper on port 4200:
yarn run start

# Start the component explorer on port 6006:
yarn run storybook-dev
Our three frontend app modalities: automated test (Qunit), component development (Storybook), and the app itself.
Depending on what part of the app you’re working on, you may want to run one or more of these simultaneously. Since our current focus is creating a single UI component, we’ll stick with running Storybook.
Commit changes
At this stage it's safe to add our files to a local repository. Run the following commands to initialize a local repository, add and commit the changes we've done so far.
git init
Followed by:
git add .
Then:
git commit -m "first commit"
And finally:
git branch -M main
Let's start building our first component!