Deploy Storybook
Throughout this tutorial, we built components on our local development machine. At some point, we'll need to share our work to get team feedback. Let's deploy Storybook online to help teammates review UI implementation.
Exporting as a static app
To deploy Storybook, we first need to export it as a static web app. This functionality is already built-in to Storybook and pre-configured.
Running yarn build-storybook will output a static Storybook in the storybook-static directory, which can then be deployed to any static site hosting service.
Publish Storybook
This tutorial uses Chromatic, a free publishing service made by the Storybook maintainers. It allows us to deploy and host our Storybook safely and securely in the cloud.
Set up a repository in GitHub
Before we begin, our local code needs to sync with a remote version control service. When we set up our project in the Get started chapter, we already initialized a local repository. At this stage, we already have a set of commits that we can push to a remote one.
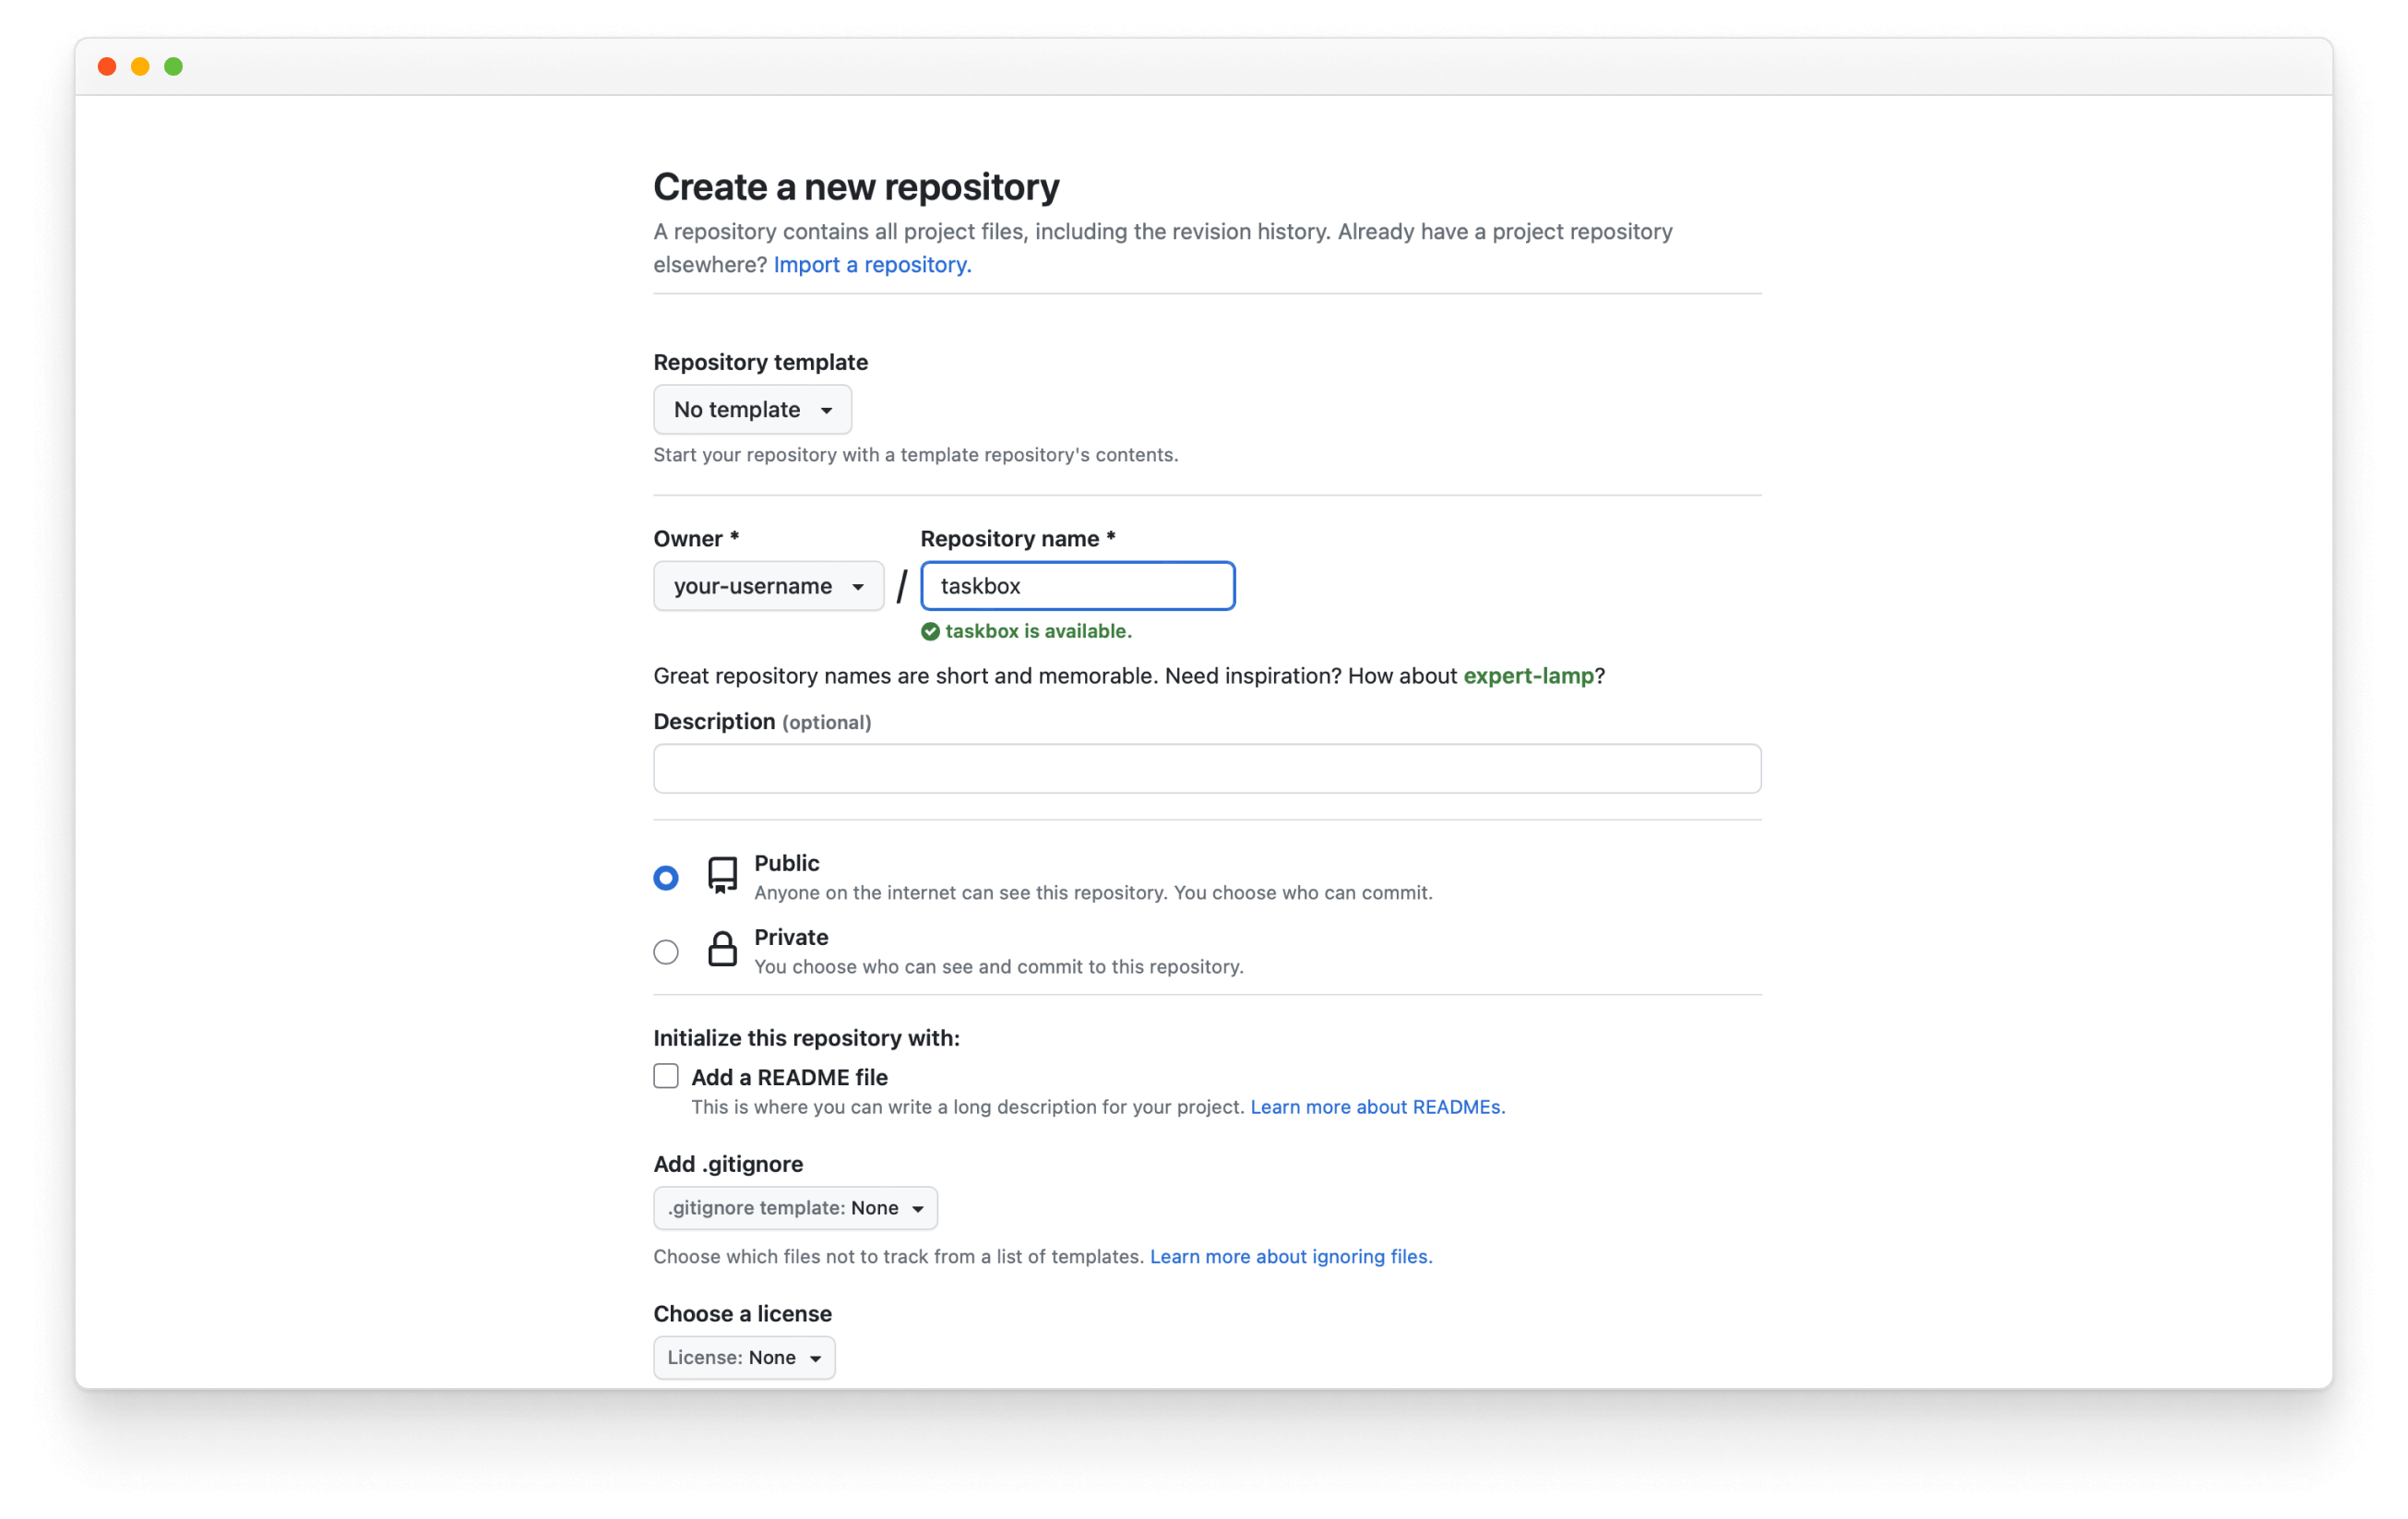
Go to GitHub and create a new repository for our project here. Name the repo “taskbox”, same as our local project.

In the new repo, grab the origin URL of the repo and add it to your git project with this command:
git remote add origin https://github.com/<your username>/taskbox.git
Finally, push our local repo to the remote repo on GitHub with:
git push -u origin main
Get Chromatic
Add the package as a development dependency.
yarn add -D chromatic
Once the package is installed, log in to Chromatic with your GitHub account (Chromatic will only ask for lightweight permissions), then we'll create a new project called "taskbox" and sync it with the GitHub repository we've set up.
Click Choose GitHub repo under collaborators and select your repo.
Copy the unique project-token that was generated for your project. Then execute it by issuing the following in the command line to build and deploy our Storybook. Make sure to replace project-token with your project token.
yarn chromatic --project-token=<project-token>

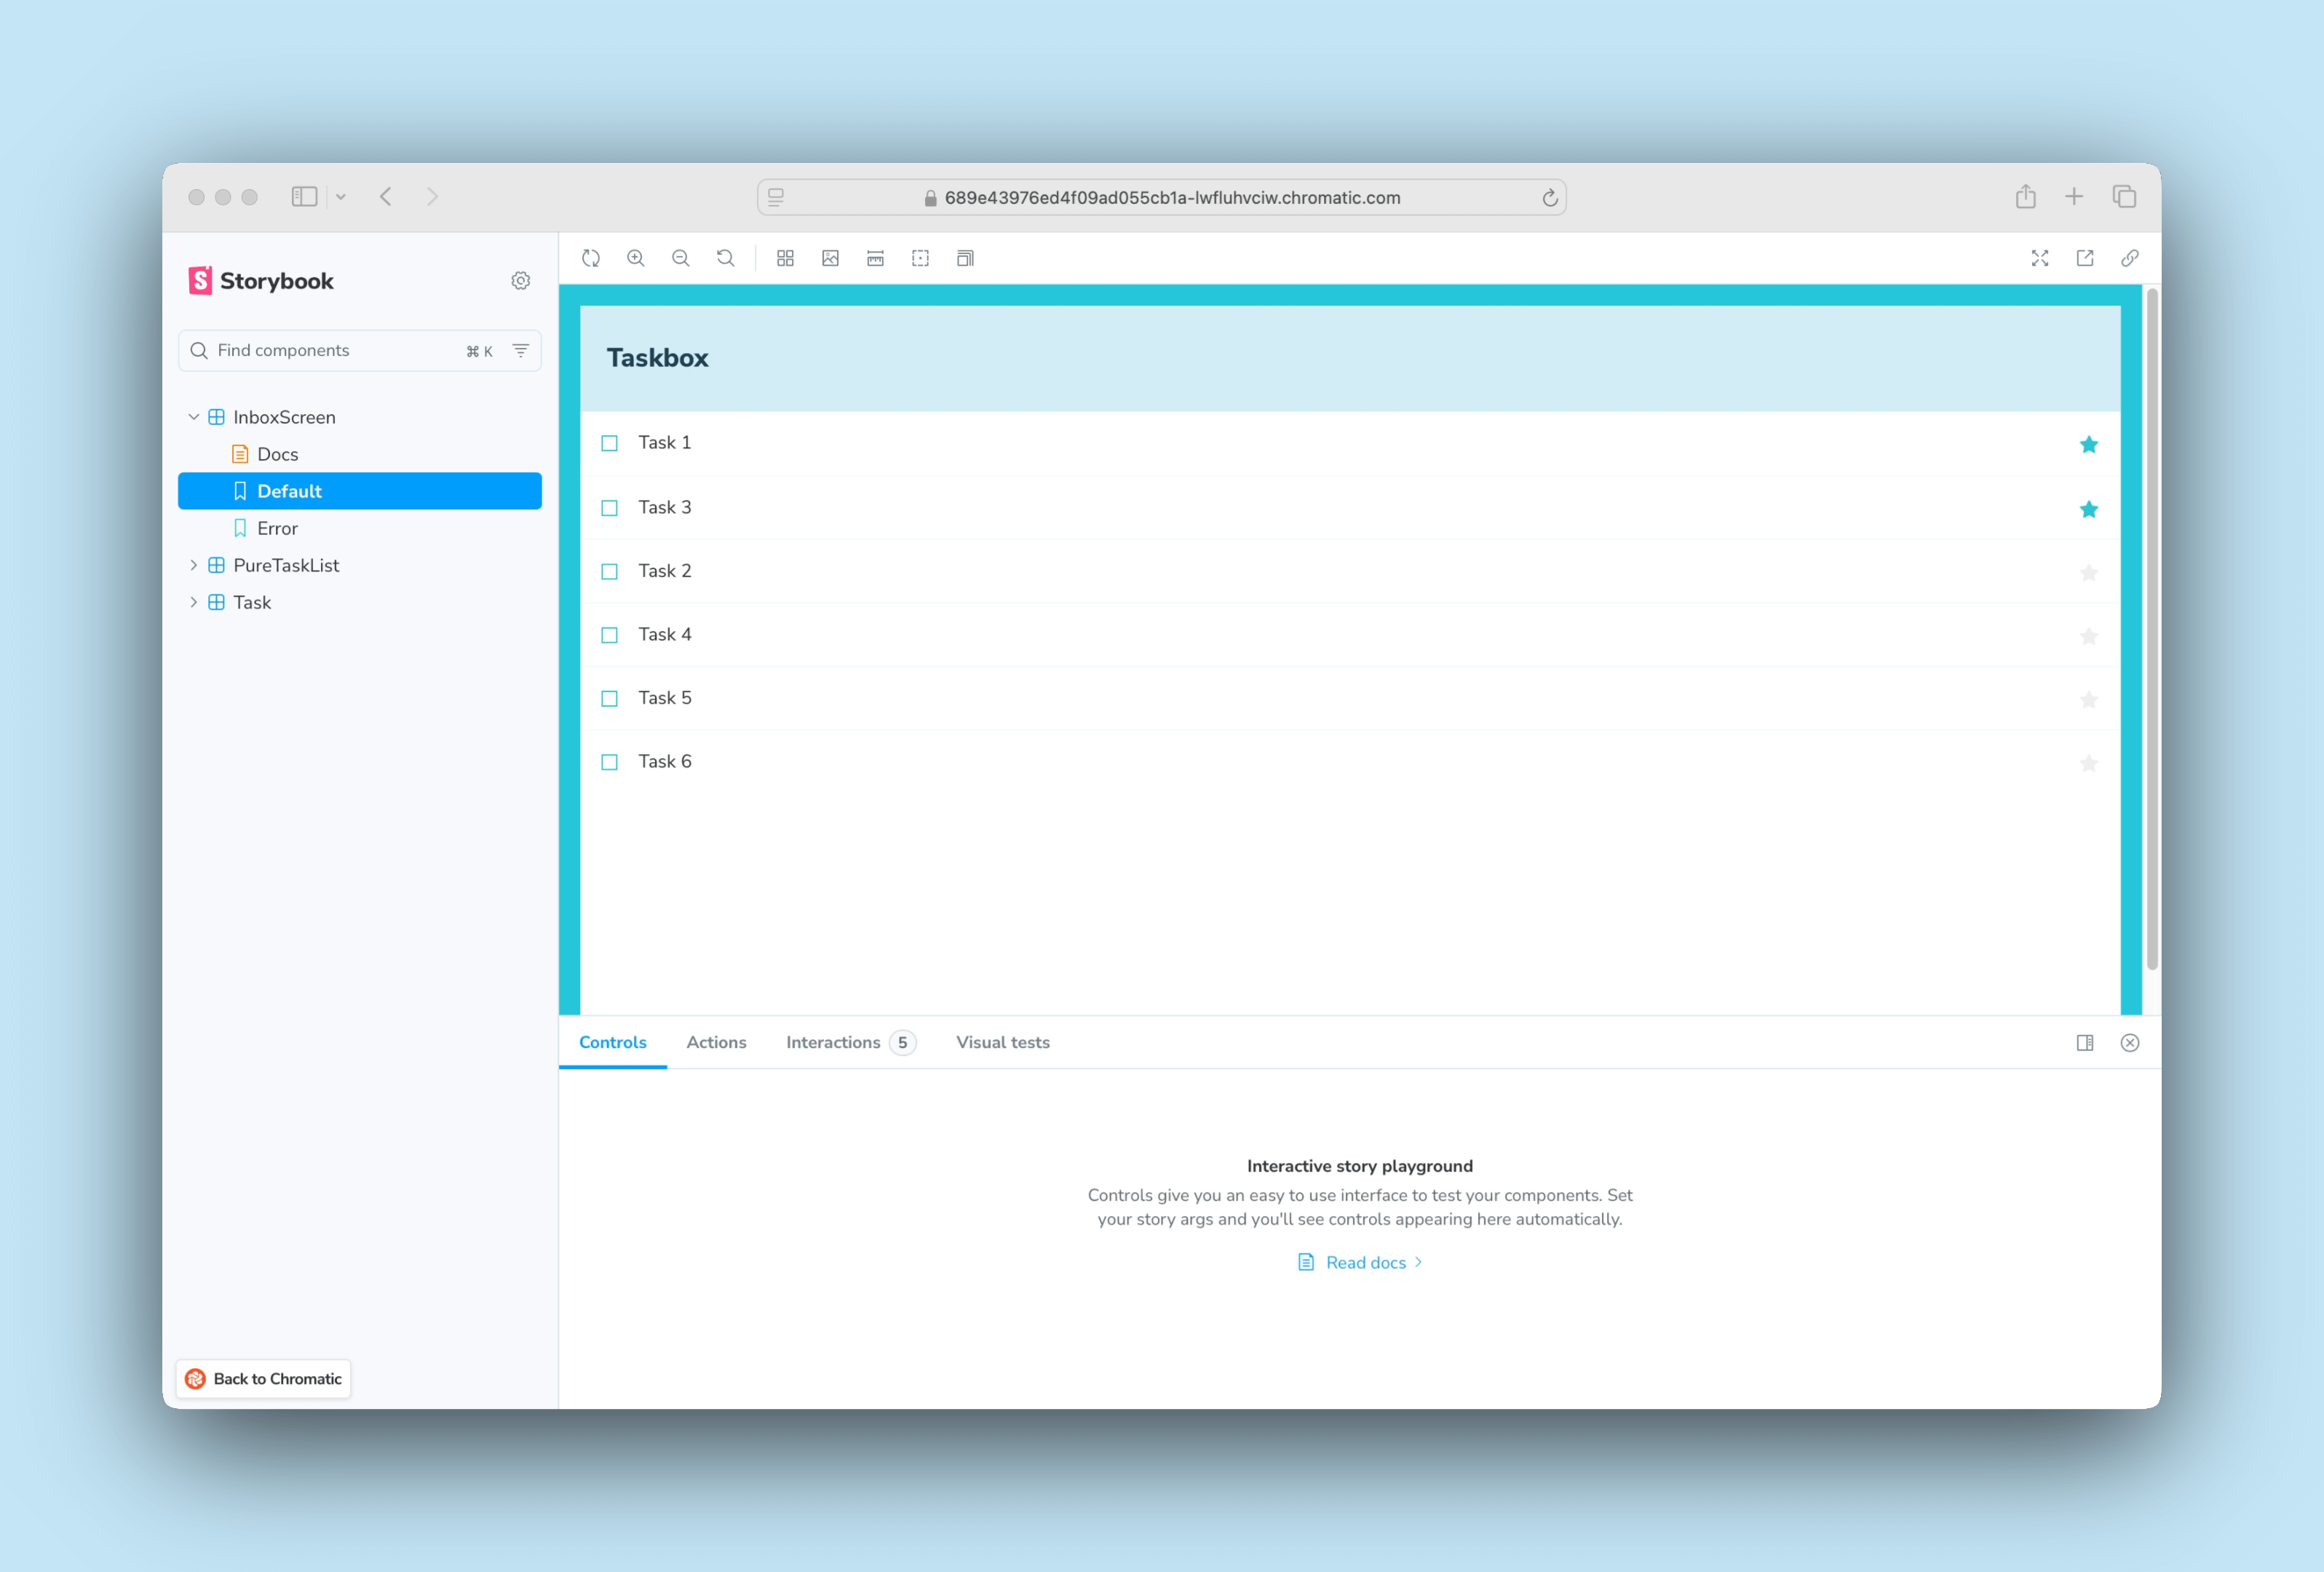
When finished, you'll get a link https://random-uuid.chromatic.com to your published Storybook. Share the link with your team to get feedback.

Hooray! We published Storybook with one command, but manually running a command every time we want to get feedback on UI implementation is repetitive. Ideally, we'd publish the latest version of components whenever we push code. We'll need to continuously deploy Storybook.
Continuous deployment with Chromatic
Now that we've hosted our project in a GitHub repository, we can use a continuous integration (CI) service to deploy our Storybook automatically. GitHub Actions is a free CI service that's built into GitHub that makes automatic publishing easy.
Add a GitHub Action to deploy Storybook
In the root folder of our project, create a new directory called .github, then create another workflows directory inside of it.
Create a new file called chromatic.yml like the one below.
# Workflow name
name: 'Chromatic Deployment'

# Event for the workflow
on: push

# List of jobs
jobs:
  chromatic:
    name: 'Run Chromatic'
    runs-on: ubuntu-latest
    # Job steps
    steps:
      - uses: actions/checkout@v4
        with:
          fetch-depth: 0
      - run: yarn
        #👇 Adds Chromatic as a step in the workflow
      - uses: chromaui/action@latest
        # Options required for Chromatic's GitHub Action
        with:
          #👇 Chromatic projectToken, see https://storybook.js.org/tutorials/intro-to-storybook/svelte/en/deploy/ to obtain it
          projectToken: ${{ secrets.CHROMATIC_PROJECT_TOKEN }}
          token: ${{ secrets.GITHUB_TOKEN }}
💡 For brevity purposes GitHub secrets weren't mentioned. Secrets are secure environment variables provided by GitHub so that you don't need to hard code the project-token.
Commit the action
In the command line, issue the following command to add the changes that you've made:
git add .
Then commit them by issuing:
git commit -m "GitHub action setup"
Finally, push them to the remote repository with:
git push origin main
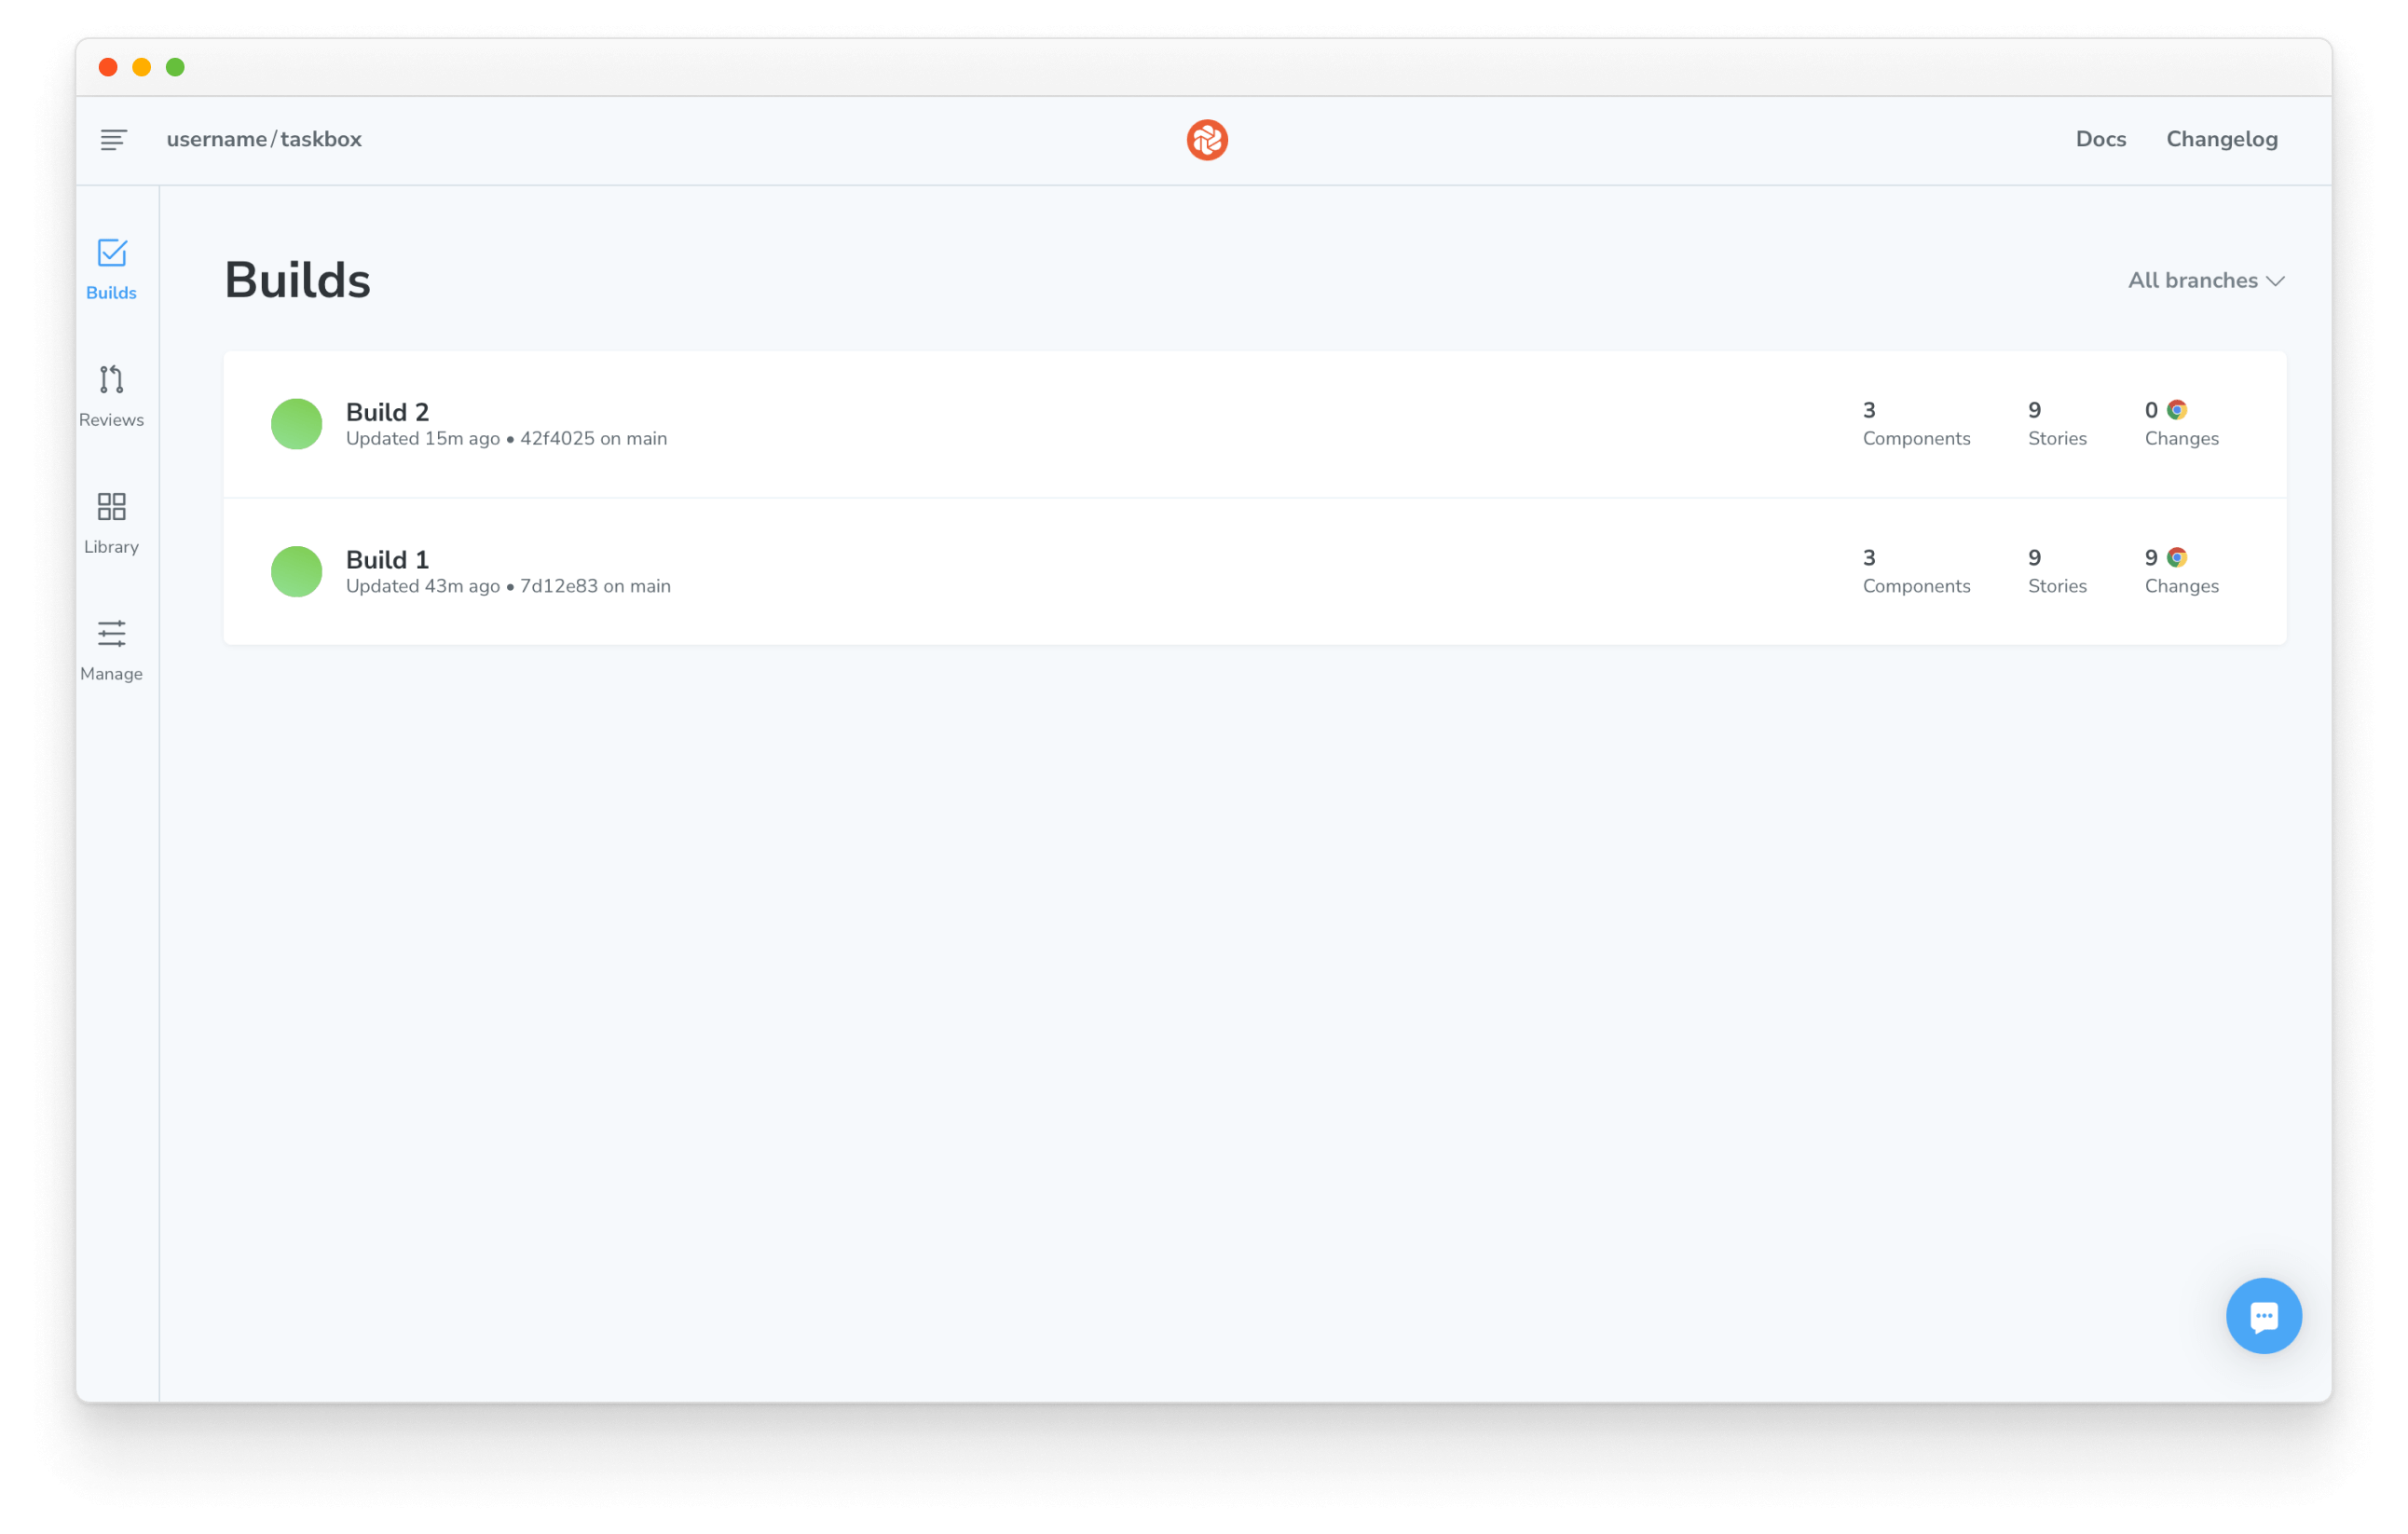
Once you’ve set up the GitHub action, your Storybook will be deployed to Chromatic whenever you push code. You can find all the published Storybooks on your project’s build screen in Chromatic.

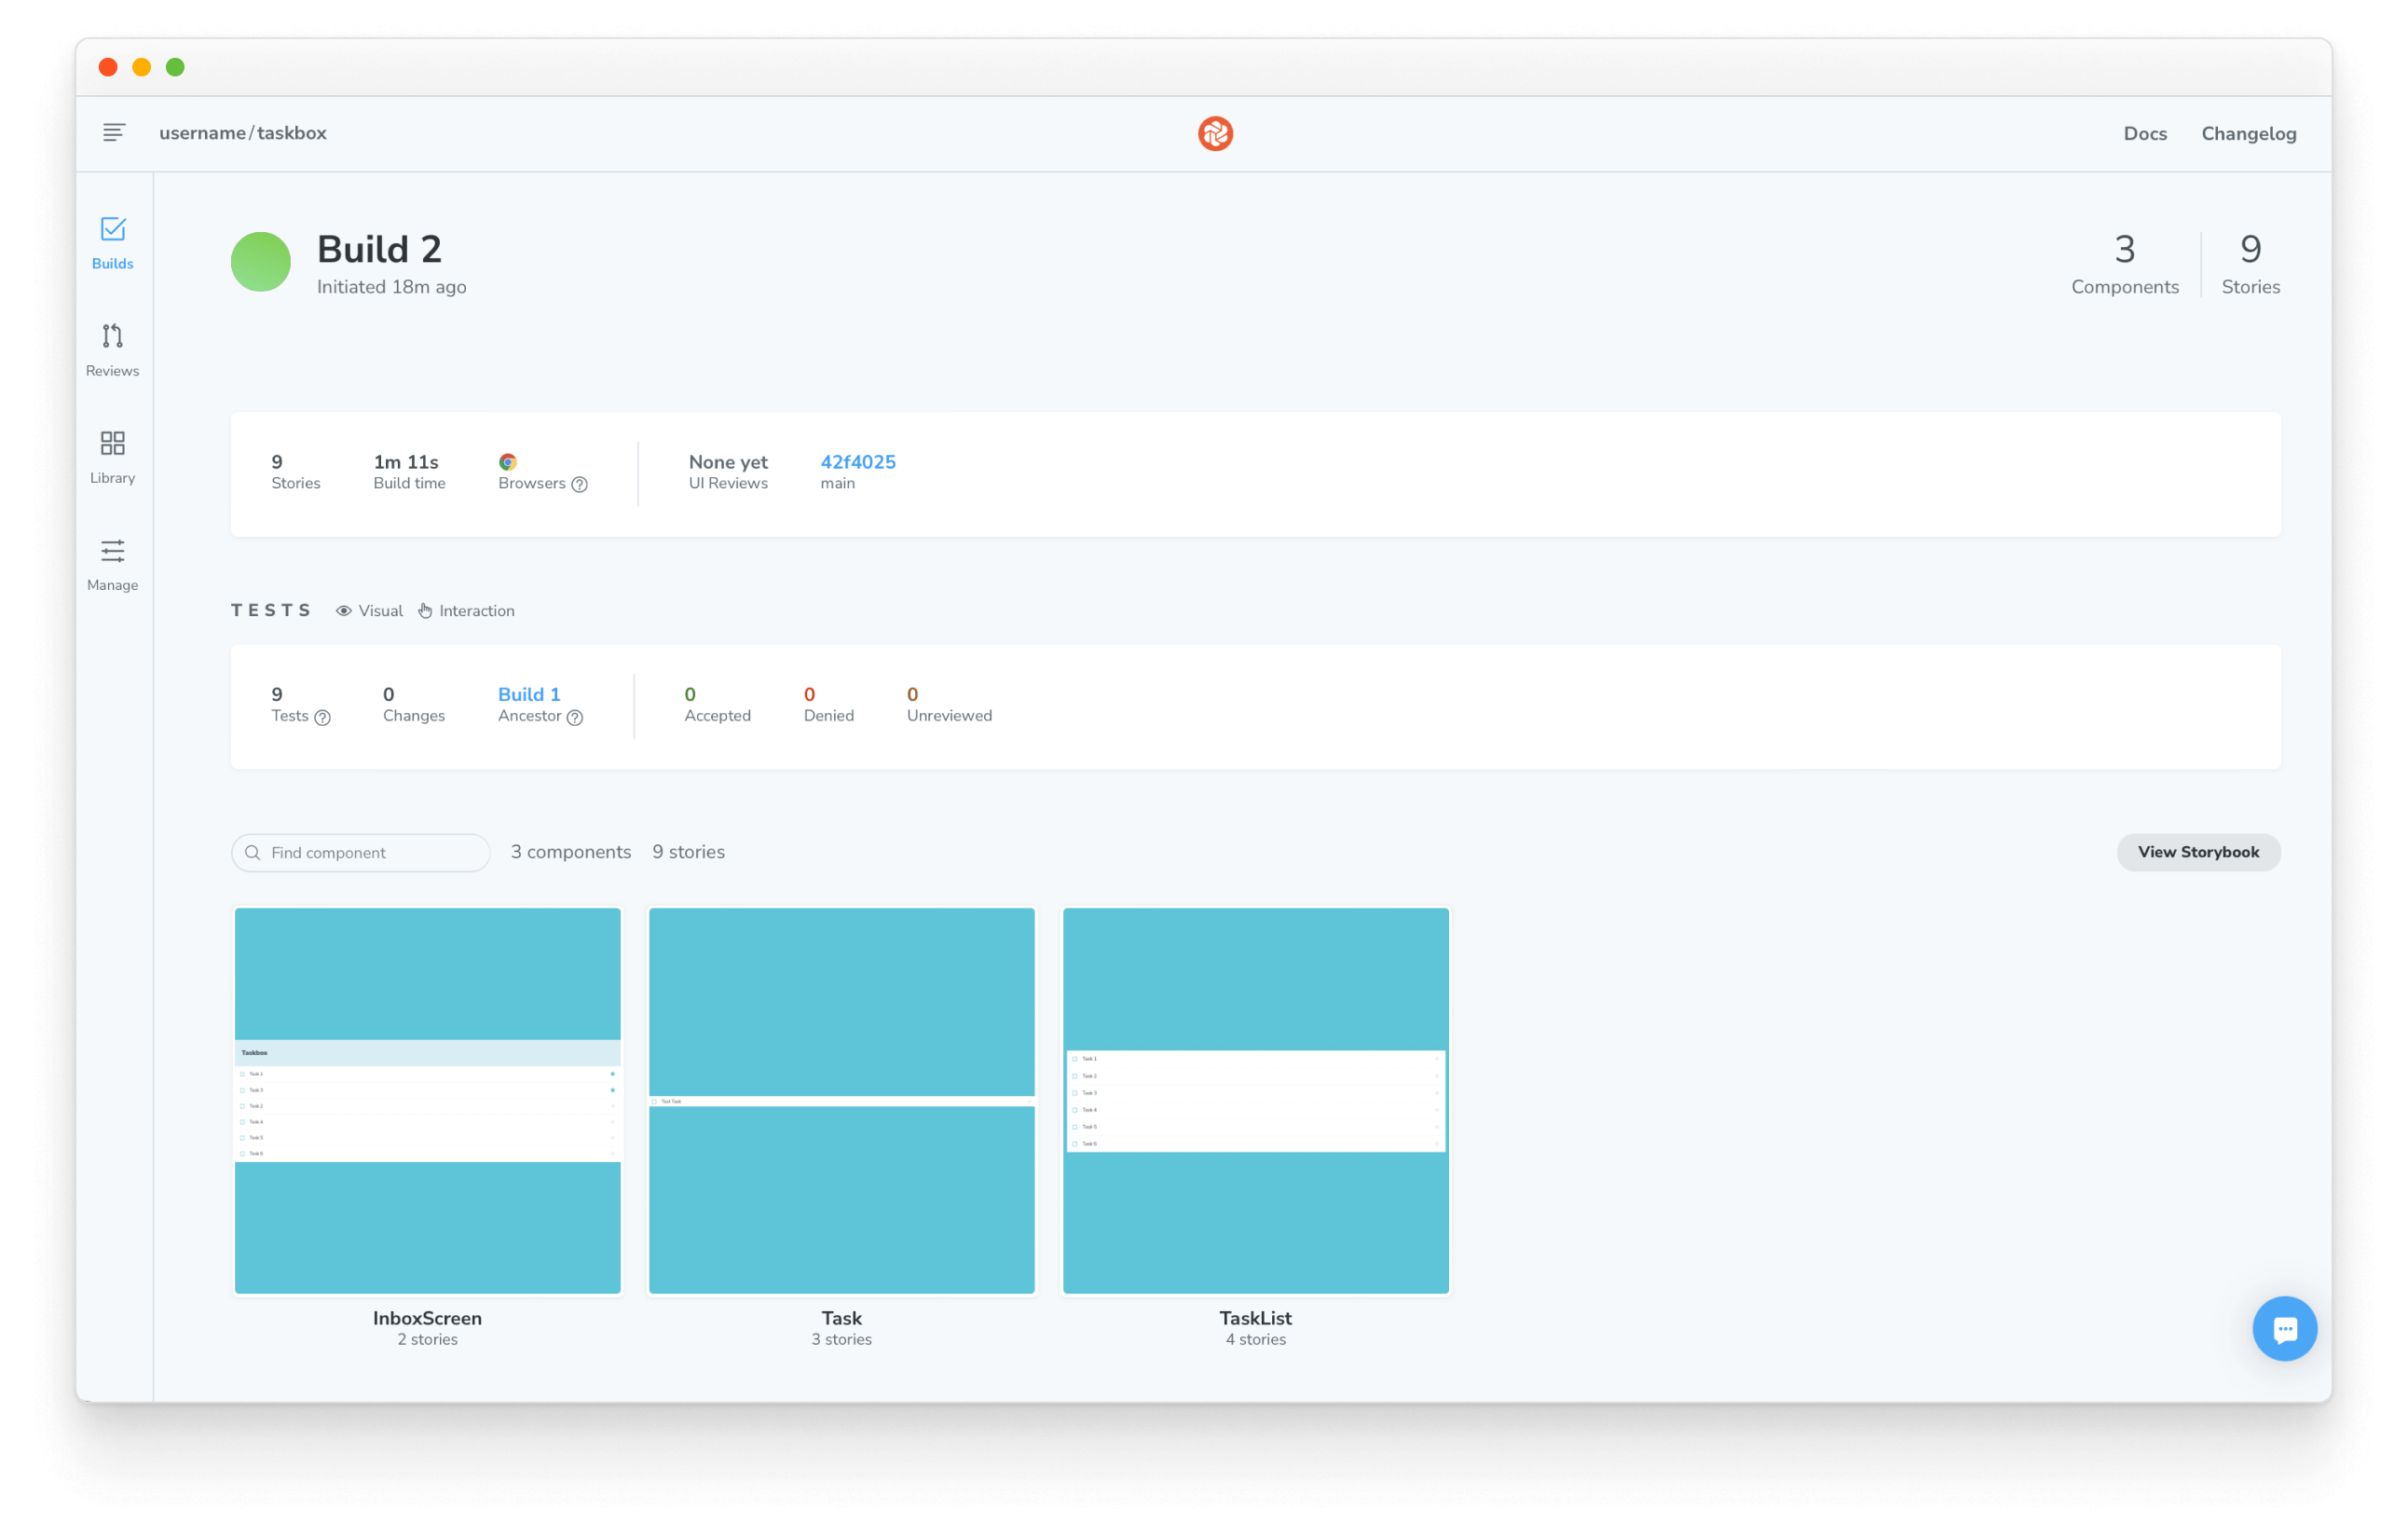
Click the latest build. It should be the one at the top.
Then, click the View Storybook button to see the latest version of your Storybook.

Use the link and share it with your team members. It's helpful as a part of the standard app development process or simply to show off work 💅.