Deploy Storybook
In this tutorial we ran Storybook on our development machine. You may also want to share that Storybook with the team, especially the non-technical members. Thankfully, it’s easy to deploy Storybook online.
Exporting as a static app
To deploy Storybook we first need to export it as a static web app. This functionality is already built into Storybook and Expo, we just need to activate it by adding a script to package.json.
// package.json

{
  "scripts": {
    "build-static-webapp":"expo build:web"
  }
}
At the time of the writing of this tutorial the web build process for Expo is still in beta. And might be subject to some changes in the future.
Now when you build the app via yarn build-static-webapp, it will output both the app and a static Storybook in the web-build directory.
Continuous deploy
We want to share the latest version of components whenever we push code. To do this we need to continuous deploy Storybook. We’ll rely on GitHub and Netlify to deploy our static site. We’re using the Netlify free plan.
GitHub
When the project was initialized with Expo, a local repository was already set up for you. At this stage it's safe to add the files to the first commit.
git add .
Now commit the files.
git commit -m "taskbox UI"
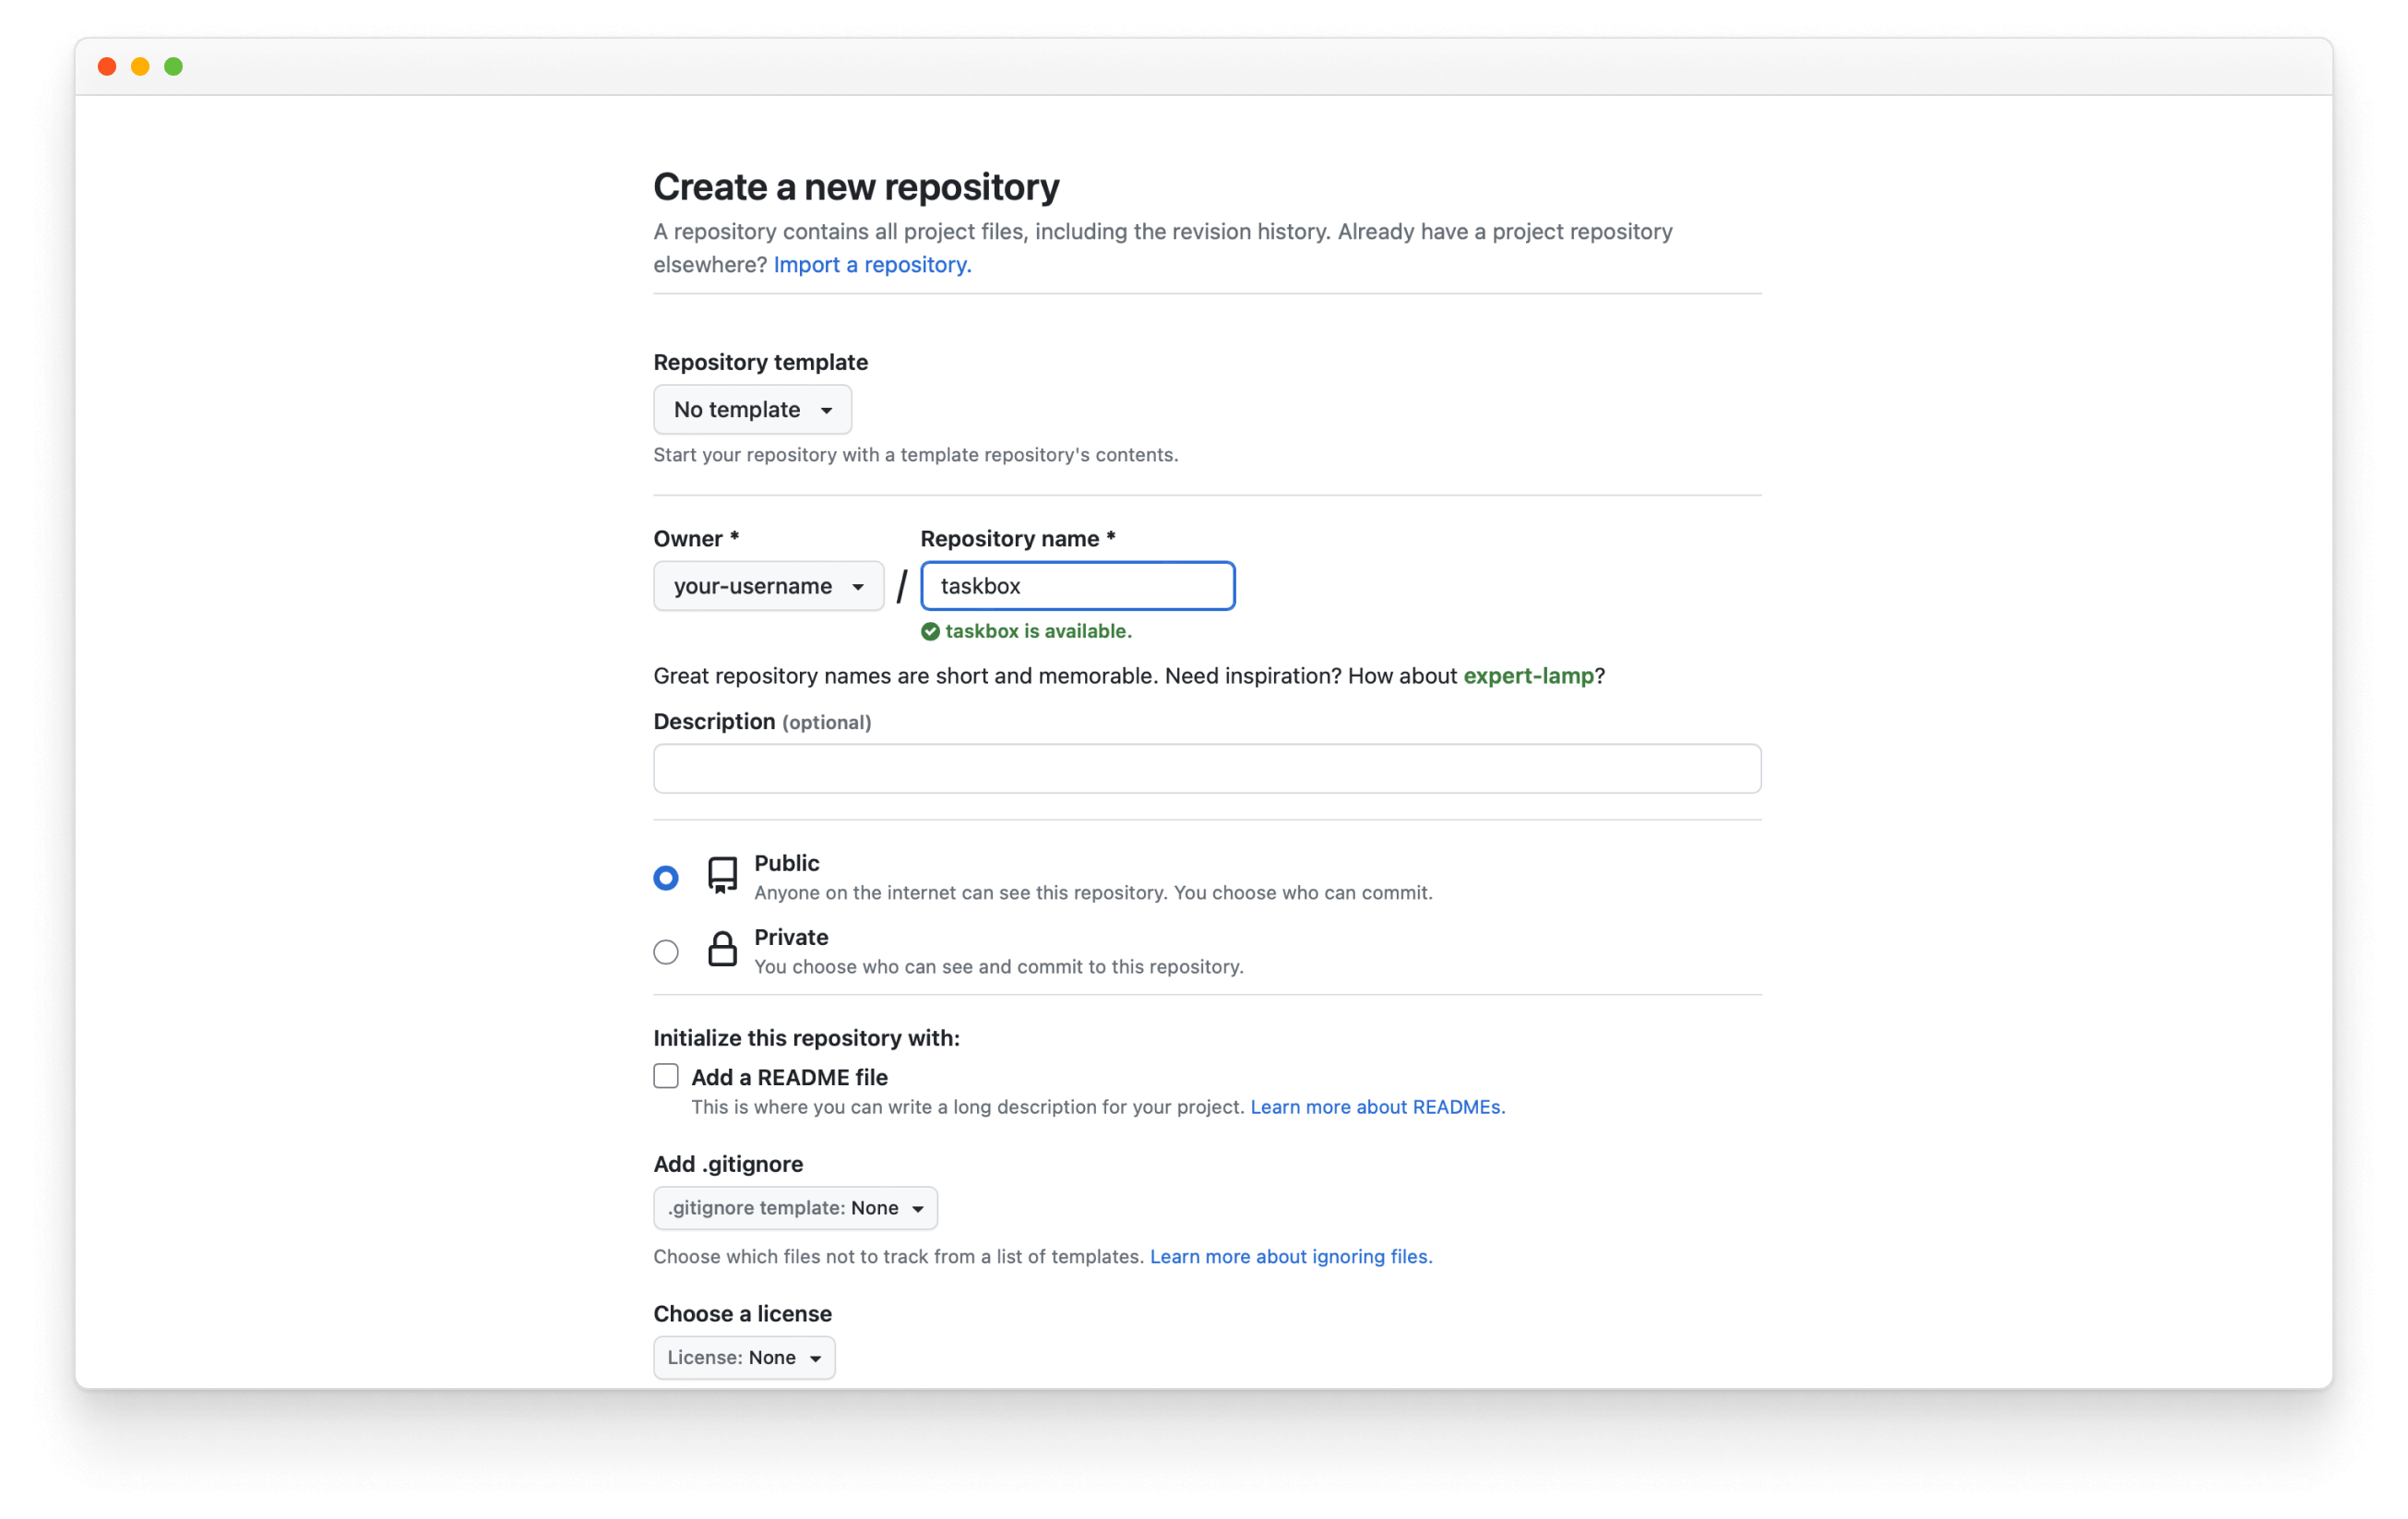
Set up a repository in GitHub
Go to GitHub and set up a repository here. Name your repo “taskbox”.
Copy the origin URL of your new repo and add it to your git project with this command:
git remote add origin https://github.com/<your username>/taskbox.git
Finally push the repo to GitHub
git push -u origin main
Netlify
Netlify has a continuous deployment service built in which will allow us to deploy Storybook without needing to configure our own CI.
web-build to a static hosting service like S3.
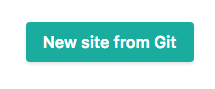
Create an account on Netlify and click to “create site”.
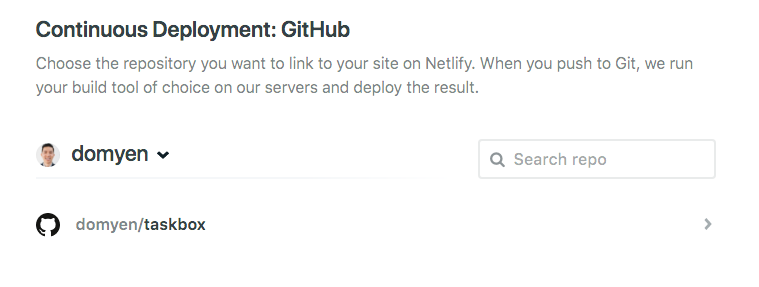
Next click the GitHub button to connect Netlify to GitHub. This allows it to access our remote Taskbox repo.
Now select the taskbox GitHub repo from the list of options.
Configure Netlify by highlighting which build command to run in its CI and which directory the static site is outputted in. For branch choose main. Directory is web-build. Build command use yarn build-static-webapp.
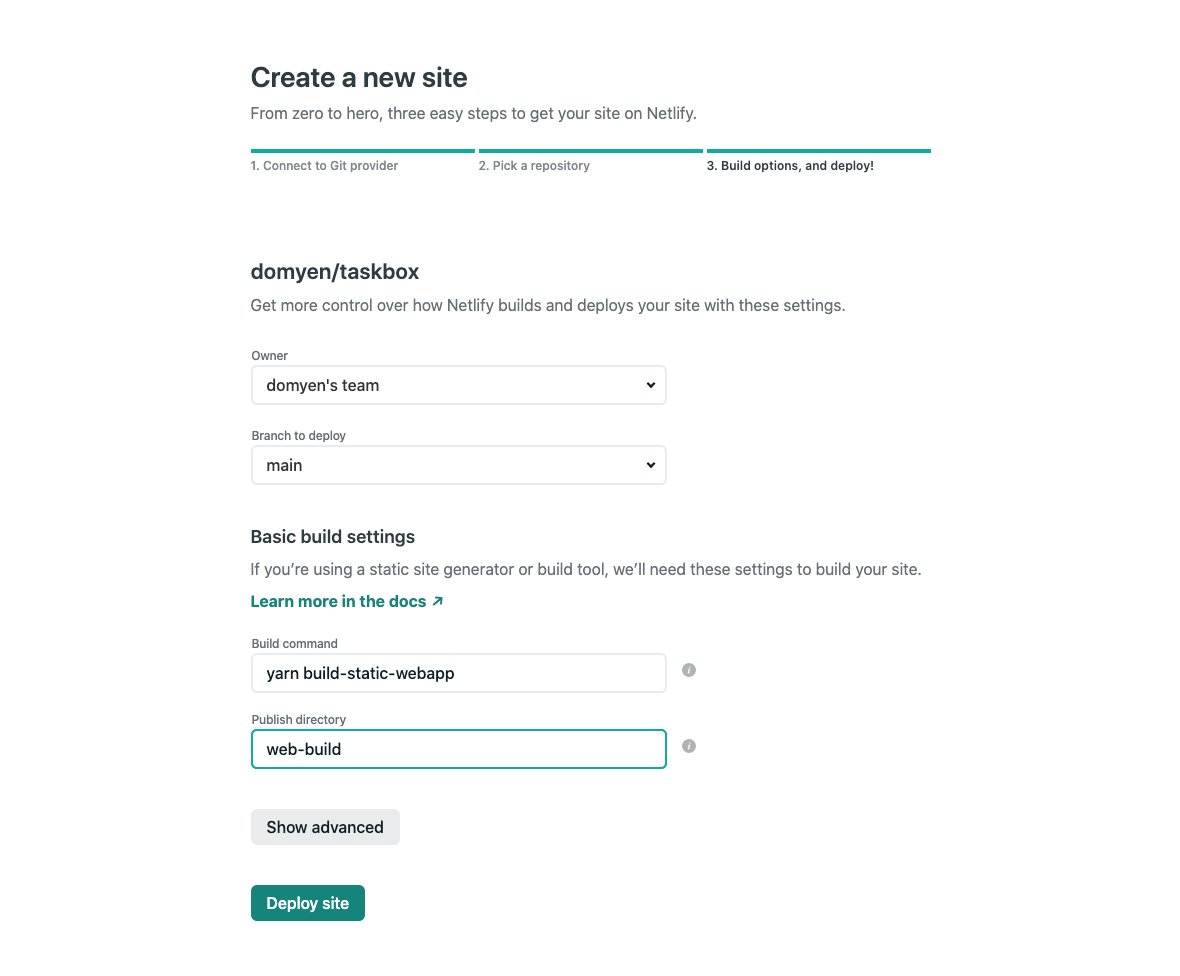
Submit the form to build and deploy the code on the main branch of taskbox.
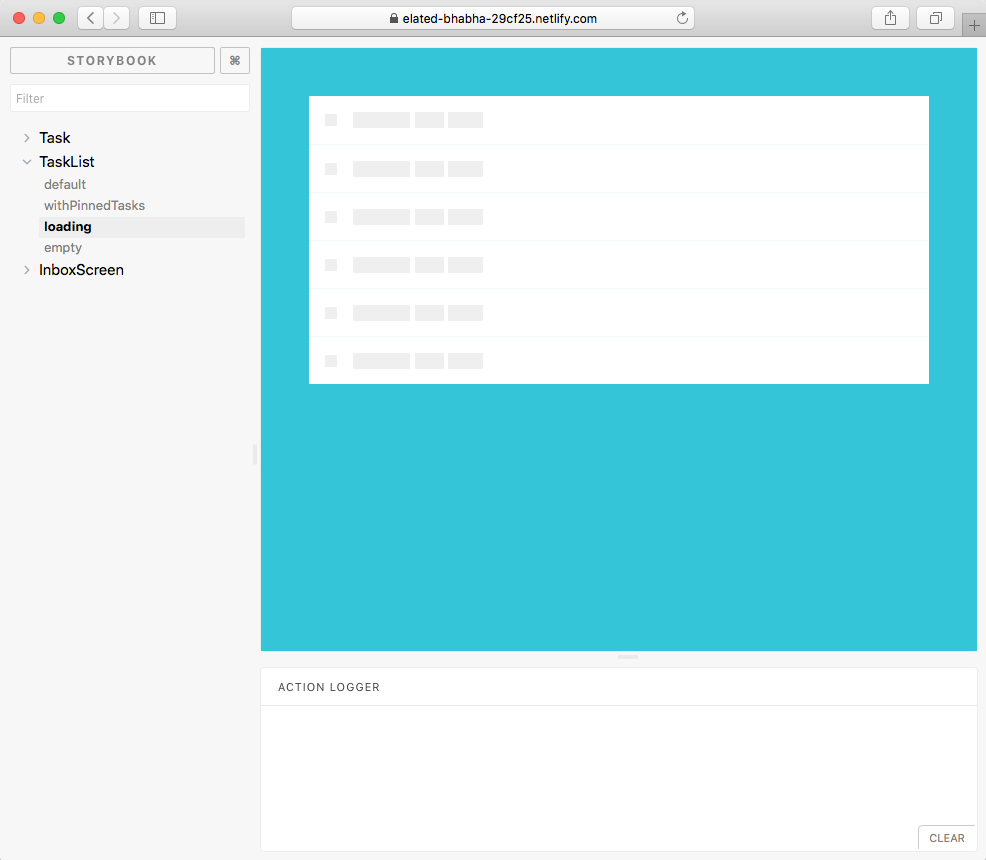
When that's finished we'll see a confirmation message on Netlify with a link to Taskbox’ Storybook online. If you're following along, your deployed Storybook should be online like so.
Should your deployment fail mentioning that the folder is not present, trigger a local build, then uncomment the build folder from the .gitignorefile.
Commit the changes, then the netlify CI should pick on on it and will succeed in building the app along side with Storybook.
We finished setting up continuous deployment of your Storybook! Now we can share our stories with teammates via a link.
This is helpful for visual review as part of the standard app development process or simply to show off work 💅.