Introduction to testing UIs
Testing UIs is awkward. Users expect frequent releases packed with features. But every new feature introduces more UI and new states that you then have to test. Every testing tool promises “easy, not flaky, fast”, but has trade-offs in the fine print.
How do leading front-end teams keep up? What's their testing strategy, and what methods do they use? I researched ten teams from the Storybook community to learn what works — Twilio, Adobe, Peloton, Shopify and more.
This guide highlights UI testing techniques used by scaled engineering teams. You'll learn how to implement a pragmatic testing strategy that balances coverage, setup, and maintenance. Along the way, I'll point out pitfalls to avoid.
What needs testing?
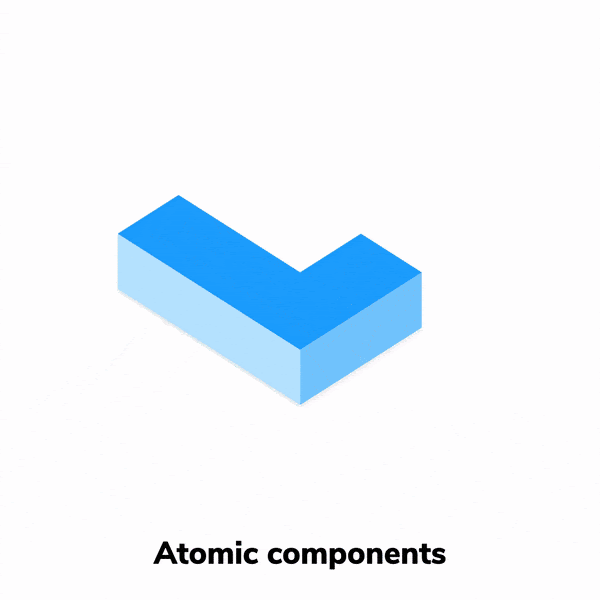
All major JavaScript frameworks are component-driven. That means UIs are built from the “bottom-up”, starting with atomic components and progressively composed into pages.
Remember, every piece of UI is now a component. Yup, that includes pages. The only difference between a page and a button is how they consume data.
Therefore, testing UI is now synonymous with testing components.
The distinction between various testing methods—unit, integration, e2e—can be blurry for components. Instead, let's focus on different characteristics of UI that we can test.
Visual
Visual tests verify whether a component renders correctly given a set of props and state. They work by taking screenshots of every component and comparing them commit-to-commit to identify changes.
Composition
Components are interconnected, with data flowing between them. You can verify this integration by running visual tests on higher-level components and pages.
Interaction
Interaction tests verify whether events are handled as intended. They start by rendering the component in isolation. Then simulate user behaviour such as click or input. Finally, verify that the state updated correctly.
Accessibility
Accessibility tests uncover usability issues related to visual, hearing, mobility and other disabilities. Use automated tools such as Axe as the first line of QA to catch blatant accessibility violations. Then follow up with manual QA on real devices for trickier issues that require human attention.
User flow
Even the most basic task requires a user to complete a sequence of steps across multiple components. This is yet another potential point of failure. Tools like Cypress and Playwright allow you to run tests against the complete application to verify such interactions.
Understanding the workflow
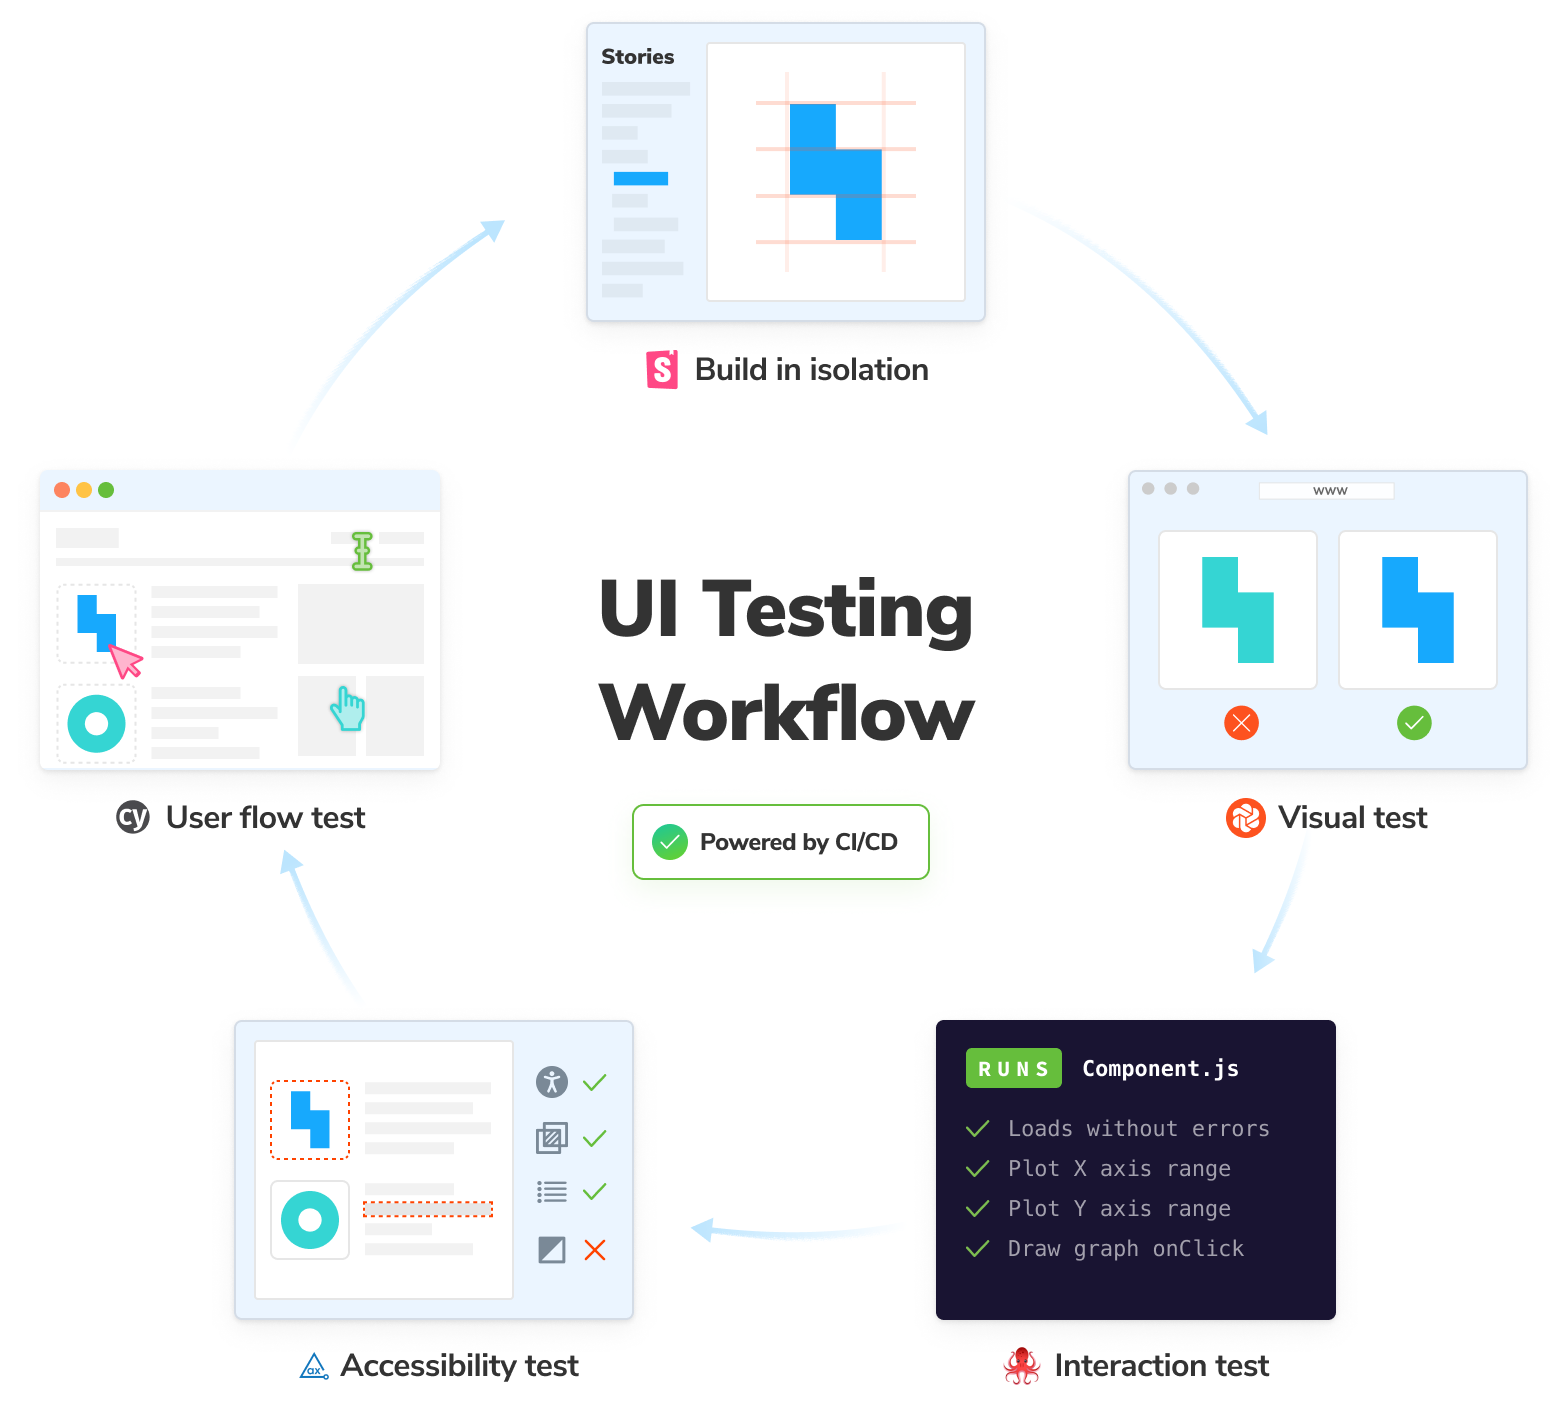
We've covered different aspects of UI that need testing but knowing how to combine them into a productive workflow is tricky. If you get it wrong, the UI development process feels like a slog. Your tests break whenever there's an implementation tweak. You have to duplicate test cases for every tool, and it all spirals into a maintenance nightmare.
The teams I interviewed all had similar tactics despite differences in their size and tech stack. I've distilled those learnings into this pragmatic workflow:
- 📚 Isolate components using Storybook. Write test cases where each state is reproduced using props and mock data.
- ✅ Catch visual bugs and verify composition using Chromatic.
- 🐙 Verify interactions with Vitest and Testing Library.
- ♿️ Audit accessibility of your components using Axe.
- 🔄 Verify user flows by writing end-to-end tests with Cypress.
- 🚥 Catch regressions by automatically running tests with GitHub Actions.
Let's get testing
In upcoming chapters, we'll dig deeper into each layer of the test stack and get into the mechanics implementing this testing strategy. But first, we’re going to need something to test. I’ll be using the Taskbox application as an example. It’s a task management app similar to Asana.

Note, the implementation details aren’t important since we’re focusing more on how to test this UI. We use React here, but rest assured; these testing concepts extend to all component-based frameworks.
To grab the code, run the following commands:
# Clone the template
npx degit chromaui/ui-testing-handbook-react-template ui-testing-guide-code

cd ui-testing-guide-code

# Install dependencies
yarn
Initialize a new GitHub repository and synchronize it with your local project.
git init
git add .
git commit -m "first commit"
git branch -M main
git remote add origin https://github.com/<your username>/ui-testing-guide-code.git
git push -u origin main