Install addons
Storybook has hundreds of reusable addons packaged as NPM modules. Let's walk through how to extend Storybook by installing and registering addons.
Automatic installation
Storybook includes a storybook add command to automate the setup of addons. Several community-led addons can be added using this command, except for preset addons. We encourage you to read the addon's documentation to learn more about its installation process.
Run the storybook add command using your chosen package manager, and the CLI will update your Storybook configuration to include the addon and install any necessary dependencies.
npx storybook@latest add @storybook/addon-a11yIf you're attempting to install multiple addons at once, it will only install the first addon that was specified. This is a known limitation of the current implementation and will be addressed in a future release.
Manual installation
Storybook addons are always added through the addons configuration array in .storybook/main.js|ts. The following example shows how to manually add the Accessibility addon to Storybook.
Run the following command with your package manager of choice to install the addon.
npm install @storybook/addon-a11y --save-devNext, update .storybook/main.js|ts to the following:
// Replace your-framework with the framework you are using (e.g., react-vite, vue3-vite, angular, etc.)
import type { StorybookConfig } from '@storybook/your-framework';

const config: StorybookConfig = {
  framework: '@storybook/your-framework',
  stories: ['../src/**/*.mdx', '../src/**/*.stories.@(js|jsx|mjs|ts|tsx)'],
  addons: [
    // Other Storybook addons
    '@storybook/addon-a11y', //👈 The a11y addon goes here
  ],
};

export default config;
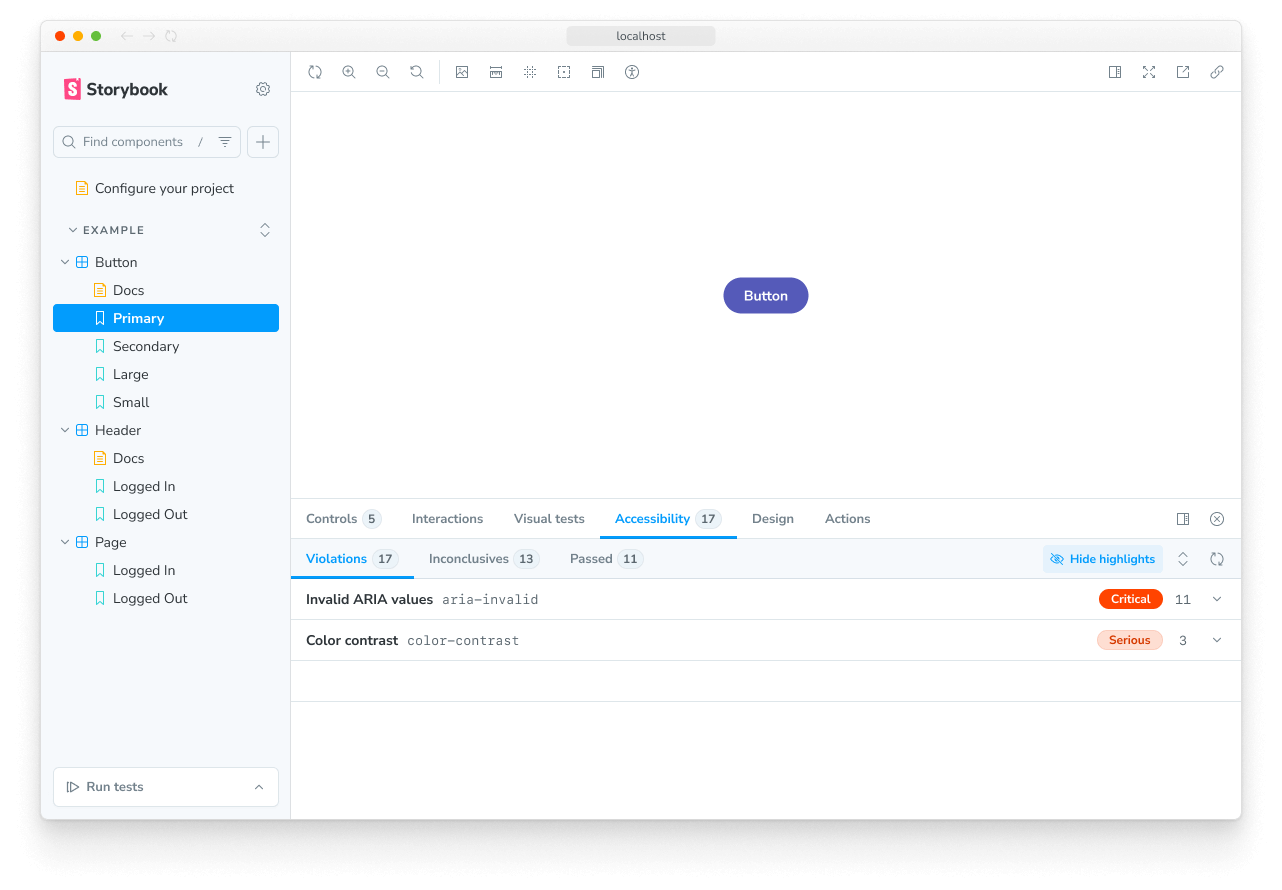
When you run Storybook, the accessibility testing addon will be enabled.

Removing addons
To remove an addon from Storybook, you can choose to manually uninstall it and remove it from the configuration file (i.e., .storybook/main.js|ts) or opt-in to do it automatically via the CLI with the remove command. For example, to remove the Accessibility addon from Storybook with the CLI, run the following command:
npx storybook@latest remove @storybook/addon-a11y