Publish Storybook
Watch a video tutorial
Teams publish Storybook online to review and collaborate on works in progress. That allows developers, designers, PMs, and other stakeholders to check if the UI looks right without touching code or requiring a local dev environment.
Build Storybook as a static web application
First, we'll need to build Storybook as a static web application. The functionality is already built-in and pre-configured for most supported frameworks. Run the following command inside your project's root directory:
npm run build-storybookYou can provide additional flags to customize the command. Read more about the flag options here.
Storybook will create a static web application capable of being served by any web server. Preview it locally by running the following command:
npx http-server ./path/to/buildCustomizing the build for performance
By default, Storybook's production build will encapsulate all stories and documentation into the production bundle. This is ideal for small projects but can cause performance issues for larger projects or when decreased build times are a priority (e.g., testing, CI/CD). If you need, you can customize the production build with the test option in your main.js|ts configuration file and adjust your build script to enable the optimizations with the --test flag.
npm run build-storybook -- --testPublish Storybook with Chromatic
Once you've built your Storybook as a static web application, you can publish it to your web host. We recommend Chromatic, a free publishing service made for Storybook that documents, versions, and indexes your UI components securely in the cloud.

To get started, sign up with your GitHub, GitLab, Bitbucket, or email and generate a unique project-token for your project.
Next, install the Chromatic CLI package from npm:
npm install chromatic --save-devRun the following command after the package finishes installing. Make sure that you replace your-project-token with your own project token.
npx chromatic --project-token=<your-project-token>When Chromatic finishes, you should have successfully deployed your Storybook. Preview it by clicking the link provided (i.e., https://random-uuid.chromatic.com).
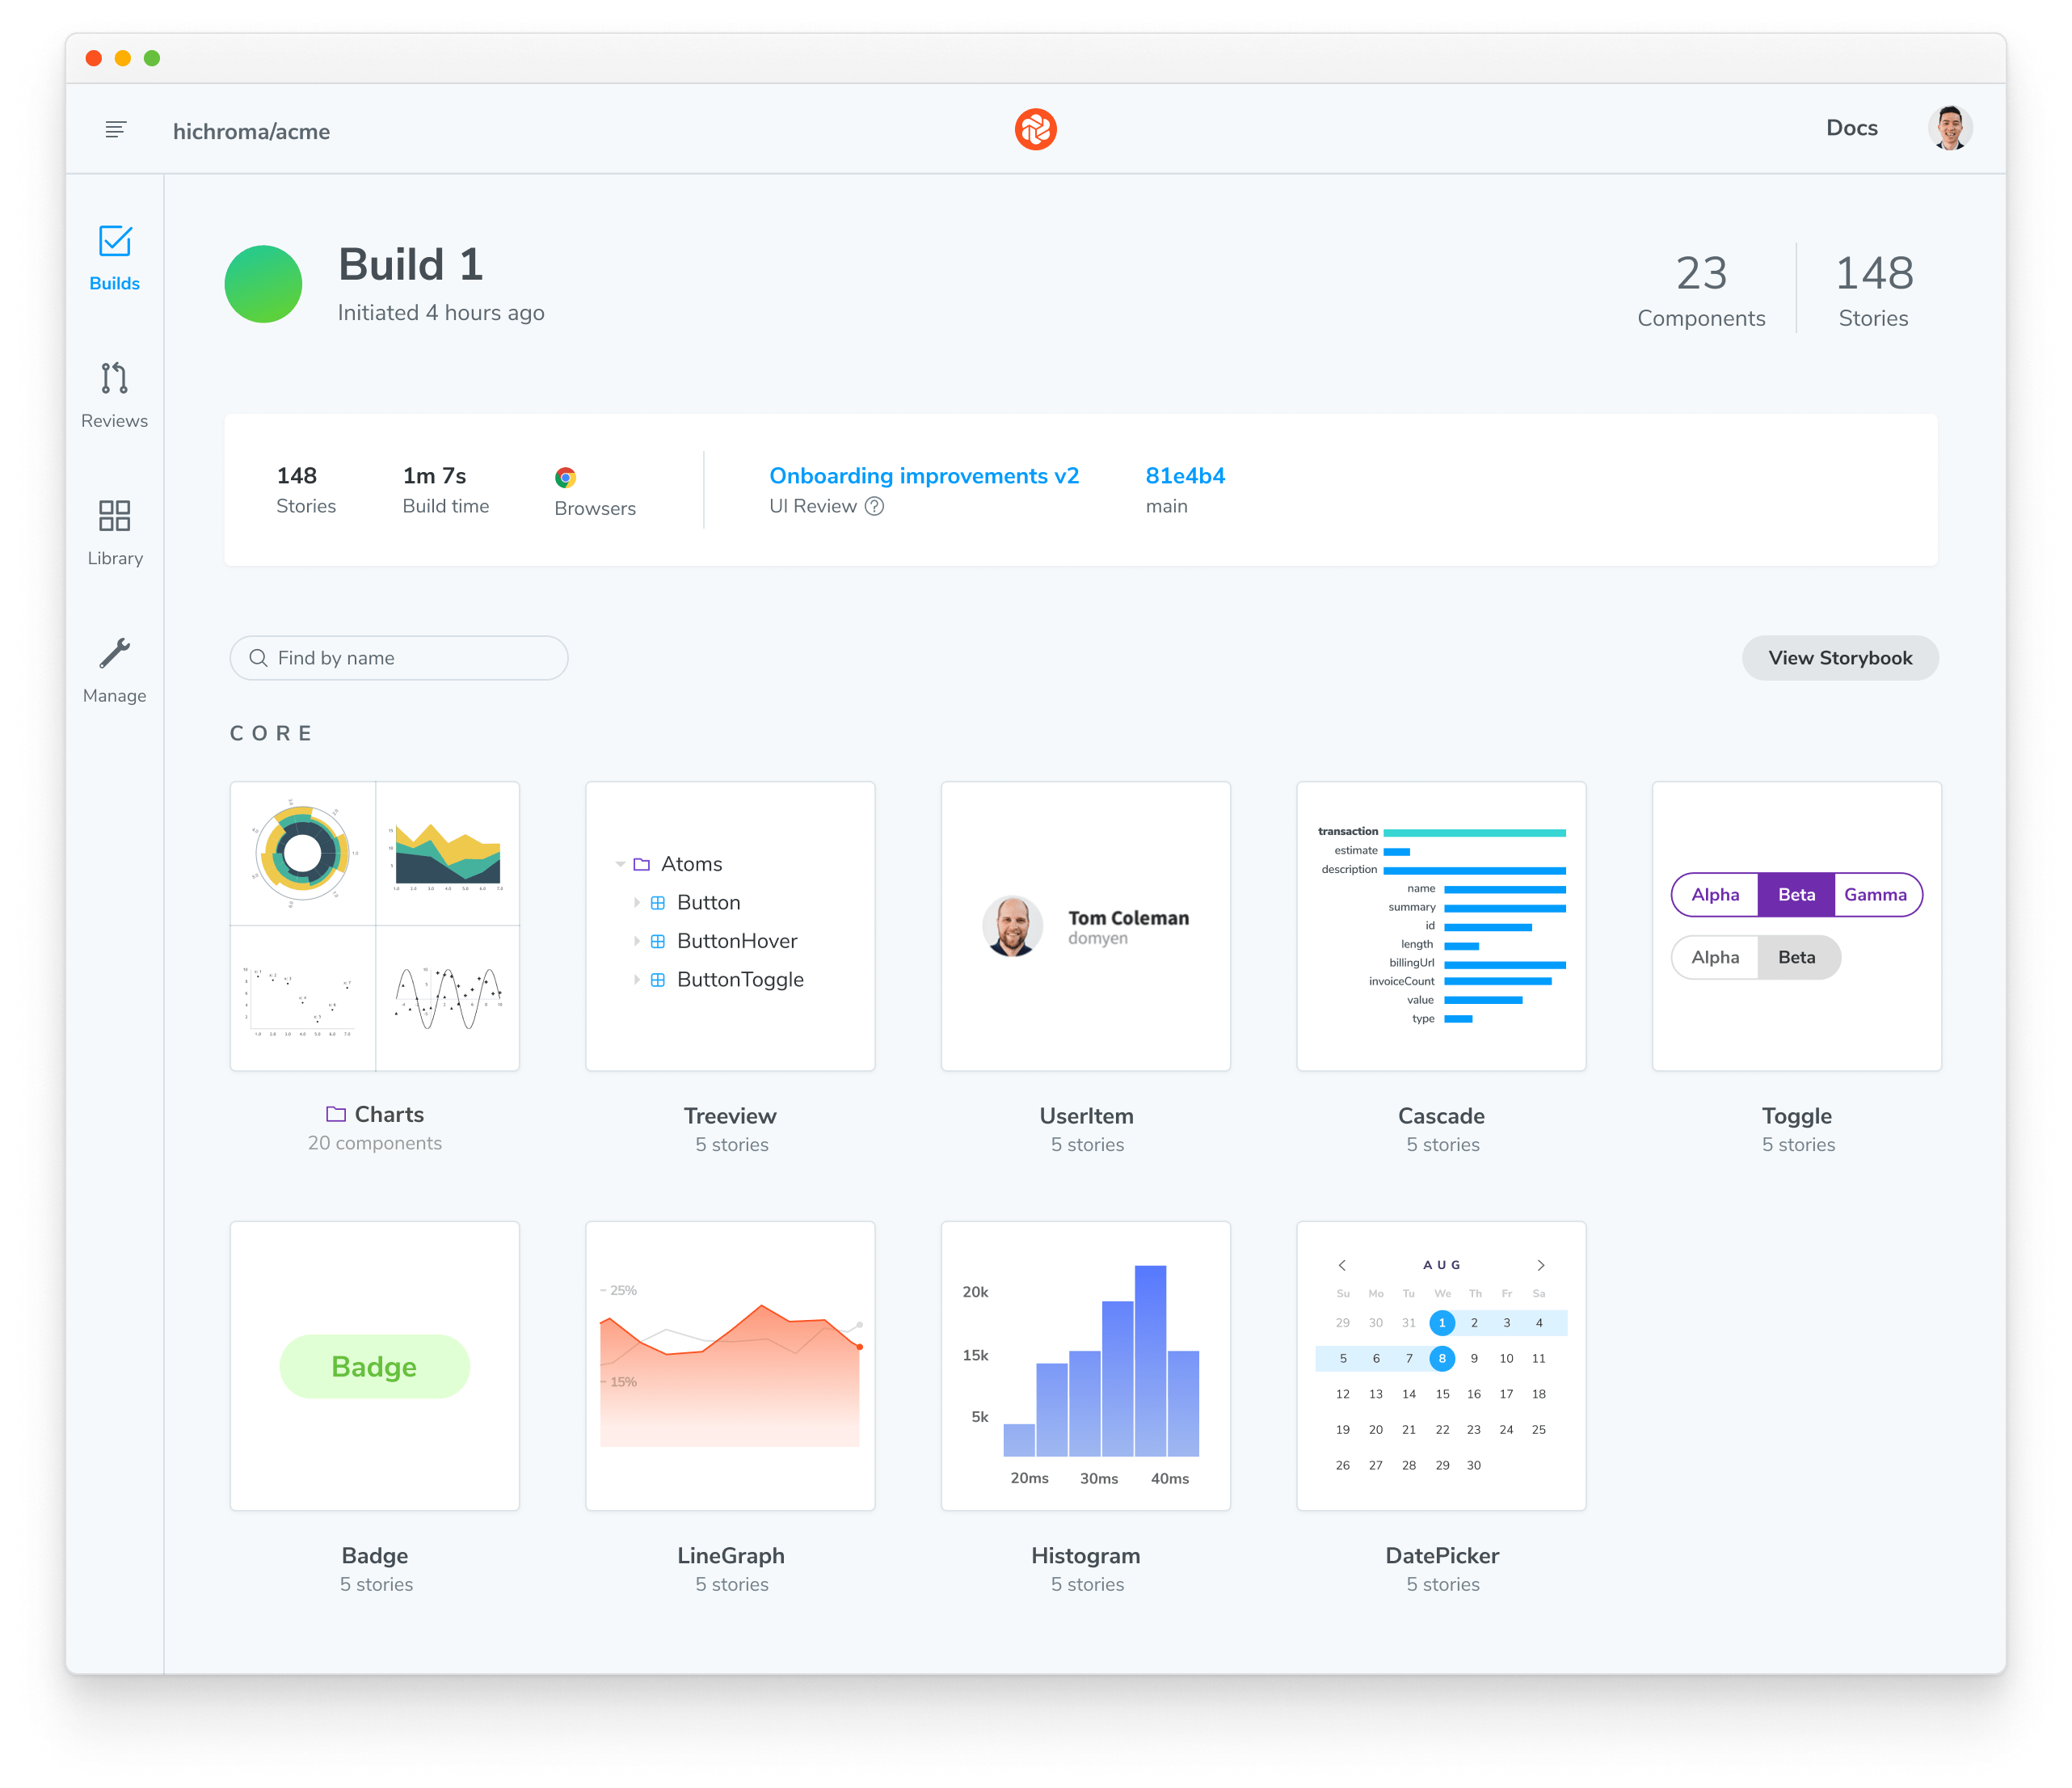
Build 1 published.

View it online at https://www.chromatic.com/build?appId=...&number=1.
Setup CI to publish automatically
Configure your CI environment to publish your Storybook and run Chromatic whenever you push code to a repository. Let's see how to set it up using GitHub Actions.
In your project's root directory, add a new file called chromatic.yml inside the .github/workflows directory:
# Workflow name
name: 'Chromatic Publish'

# Event for the workflow
on: push

# List of jobs
jobs:
  test:
    # Operating System
    runs-on: ubuntu-latest
    # Job steps
    steps:
      - uses: actions/checkout@v3
        with:
          fetch-depth: 0
      - uses: actions/setup-node@v3
        with:
          node-version: 18
          cache: 'yarn'
      - run: yarn
      #👇 Adds Chromatic as a step in the workflow
      - uses: chromaui/action@v1
        # Options required for Chromatic's GitHub Action
        with:
          #👇 Chromatic projectToken,
          projectToken: ${{ secrets.CHROMATIC_PROJECT_TOKEN }}
token: ${{ secrets.GITHUB_TOKEN }}Secrets are secure environment variables provided by GitHub so that you don't need to hard code your project-token. Read the official documentation to learn how to configure them.
Commit and push the file. Congratulations, you've successfully automated publishing your Storybook. Now whenever you open a PR you’ll get a handy link to your published Storybook in your PR checks.

Review with your team
Publishing Storybook as part of the development process makes it quick and easy to gather team feedback.
A common method to ask for review is to paste a link to the published Storybook in a pull request or Slack.
If you publish your Storybook to Chromatic, you can use the UI Review feature to automatically scan your PRs for new and updated stories. That makes it easy to identify what changed and give feedback.

Versioning and history
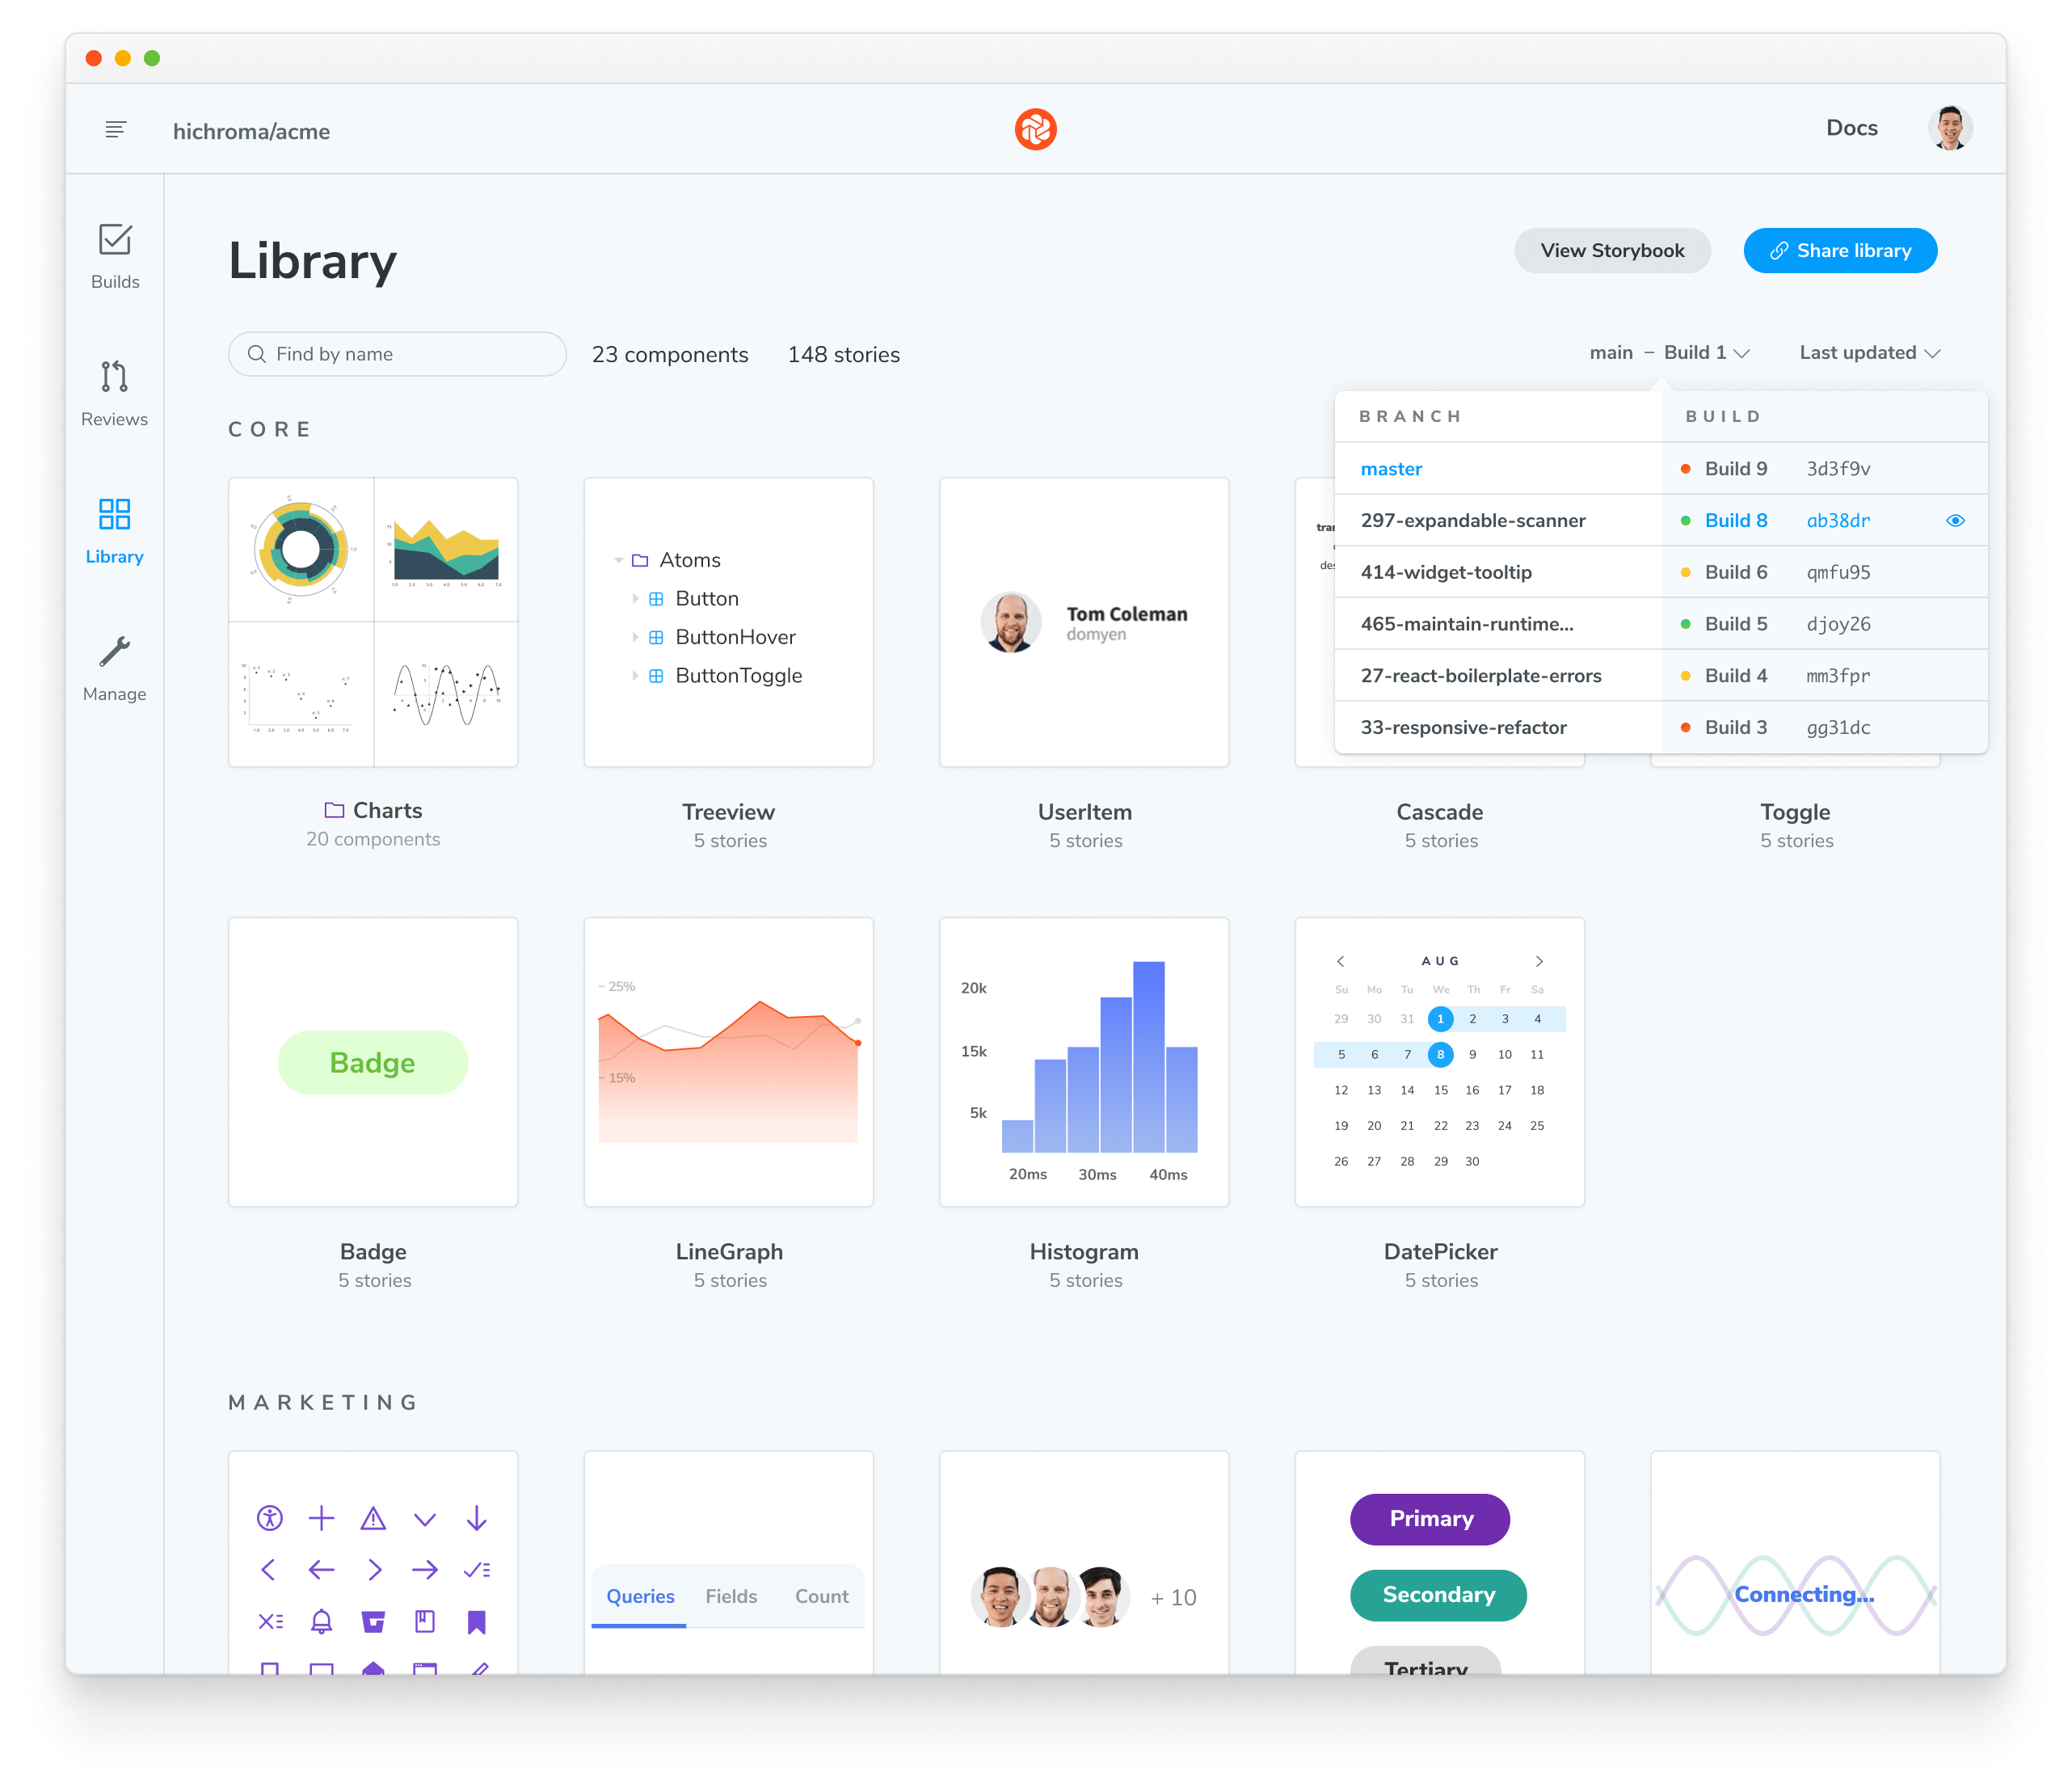
When you publish Storybook, you also get component history and versioning down to the commit. That's useful during implementation review for comparing components between branches/commits to past versions.

Publish Storybook to other services
Since Storybook is built as a static web application, you can also publish it to any web host, including GitHub Pages, Netlify, AWS S3, and more. However, features such as Composition, embedding stories, history, versioning, and assets may require tighter integration with Storybook APIs and secure authentication. If you want to know more about headers, you can refer to the Migration guide. Additionally, if you want to learn about the Component Publishing Protocol (CPP), you can find more information below.
GitHub Pages
To deploy Storybook on GitHub Pages, use the community-built Deploy Storybook to GitHub Pages Action. To enable it, create a new workflow file inside your .github/workflows directory with the following content:
# Workflow name
name: Build and Publish Storybook to GitHub Pages

on:
  # Event for the workflow to run on
  push:
    branches:
      - 'your-branch-name' # Replace with the branch you want to deploy from

permissions:
  contents: read
  pages: write
  id-token: write

# List of jobs
jobs:
  deploy:
    runs-on: ubuntu-latest
    # Job steps
    steps:
      # Manual Checkout
      - uses: actions/checkout@v3

      # Set up Node
      - uses: actions/setup-node@v3
        with:
          node-version: '16.x'

      #👇 Add Storybook build and deploy to GitHub Pages as a step in the workflow
      - uses: bitovi/github-actions-storybook-to-github-pages@v1.0.1
        with:
          install_command: yarn install # default: npm ci
          build_command: yarn build-storybook # default: npm run build-storybook
          path: storybook-static # default: dist/storybook
checkout: false # default: trueThe GitHub Pages Action requires additional configuration options to customize the deployment process. Refer to the official documentation for more information.
Component Publishing Protocol (CPP)
Storybook can communicate with services that host built Storybooks online. This enables features such as Composition. We categorize services via compliance with the "Component Publishing Protocol" (CPP) with various levels of support in Storybook.
CPP level 1
This level of service serves published Storybooks and makes the following available:
- Versioned endpoints, URLs that resolve to different published Storybooks depending on a
version=x.y.zquery parameter (wherex.y.zis the released version of the package). - Support for
/index.json(formerly/stories.json) endpoint, which returns a list of stories and their metadata. - Support for
/metadata.jsonand thereleasesfield.
Example: Chromatic
CPP level 0
This level of service can serve published Storybooks but has no further integration with Storybook’s APIs.
Search engine optimization (SEO)
If your Storybook is publicly viewable, you may wish to configure how it is represented in search engine result pages.
Description
You can provide a description for search engines to display in the results listing, by adding the following to the manager-head.html file in your config directory:
<meta name="description" content="Components for my awesome project" key="desc" />Preventing your Storybook from being crawled
You can prevent your published Storybook from appearing in search engine results by including a noindex meta tag, which you can do by adding the following to the manager-head.html file in your config directory:
<meta name="robots" content="noindex" />